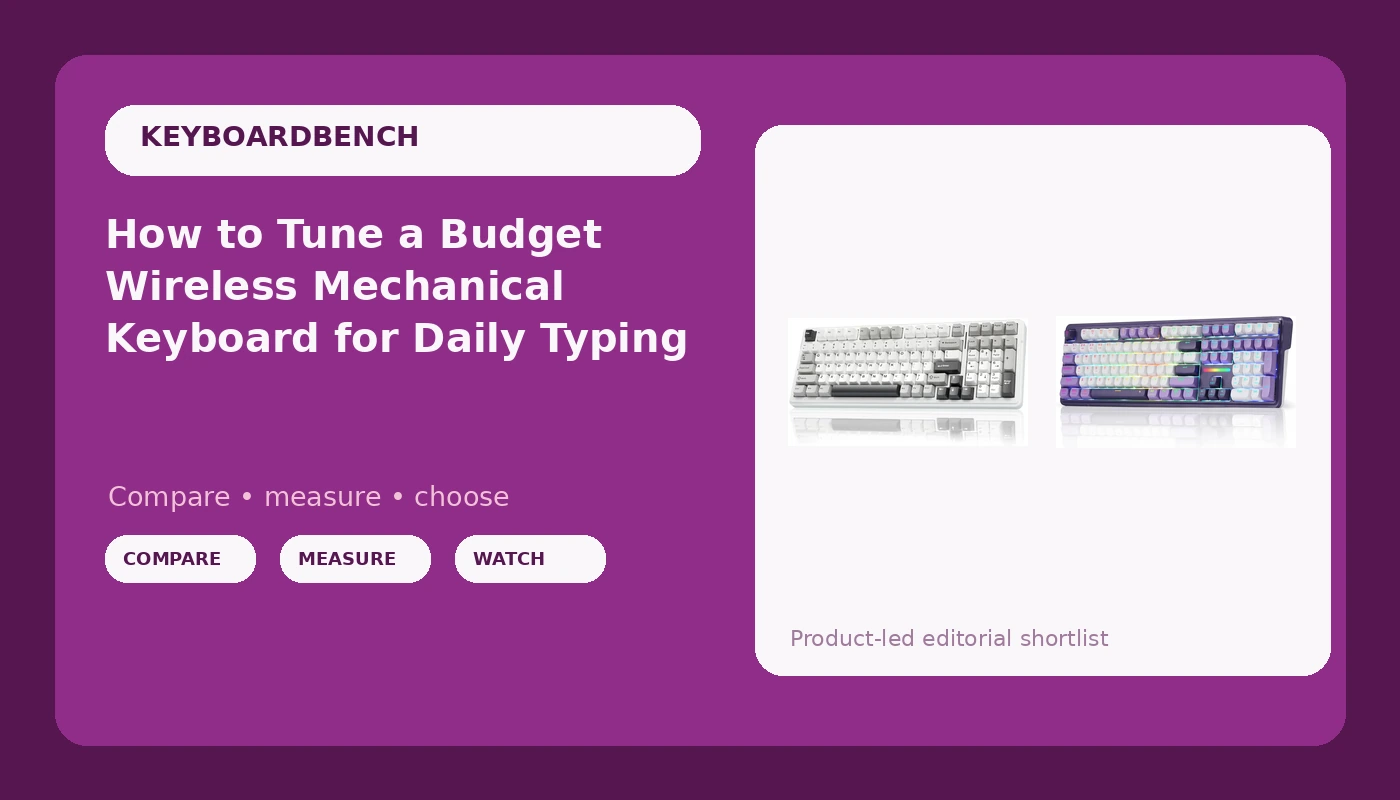
Most budget wireless mechanical keyboards do not feel cheap because of the switches. They feel cheap because of the stabilizers, the case, and the fact that nobody set the thing up. I have typed on enough boards in the budget tier to know the pattern: the switches are usually fine, the keycaps are usually thin, and the spacebar rattles like a shopping cart with a bad wheel. Fix those three things and a budget wireless mechanical keyboard will hold its own against far pricier boards.
This is the setup and tuning routine I run on every board that lands on my desk. It takes an afternoon, it costs almost nothing beyond the board itself, and it is the difference between a keyboard you tolerate and one you stop noticing, which is the highest compliment I can give a board.
Why you should trust me
I write software for eight hours a day and I have built 14 custom boards on my own time. I own more than 30 sets of switches and a keycap collection that takes up a shelf my roommate negotiated down to one. Every board I write about gets the same treatment: two weeks of daily typing, a stabilizer rattle test where I tap the spacebar and press it slowly while listening for the ping, and a blind switch comparison where I try to identify the switch by feel alone. I do not review anything after an unboxing, because an unboxing tells you nothing about week two.
How I picked and how I tested
The two boards below are the ones I would hand a beginner who wants wireless, hot-swap, and a full set of keys without gambling on a group buy. I judged them on four things: whether the stabilizers rattle out of the box, whether the switches are hot-swappable, whether the wireless connection holds up for a full work week, and whether the keycaps make the board sound hollow.
The rattle test comes first. I press the spacebar, the Enter key, and both Shift keys slowly, then tap them. A board that pings on the tap is a board with dry or loose stabilizer wires, and that is fixable. A board with a bent wire or a warped spacebar is not, and that is a return.
The hot-swap check is second. In 2026 there is no reason to buy a board you cannot pull a switch out of with a cheap tool. Soldering is a hobby, not a requirement.
The battery check is third. I run each board on the 2.4GHz dongle for a week, then on Bluetooth for a week, with the backlight on the whole time, and I track how often I reach for the cable. If a board cannot survive a work week with RGB on, I say so.
Pick a board with the right bones
You can fix a lot on a budget board. You cannot fix a soldered PCB, a warped case, or a wireless chip that drops inputs. So the buying decision matters, even for a board you plan to mod. Both of the boards below have the two features I consider non-negotiable in 2026: hot-swap sockets and a proper tri-mode connection.
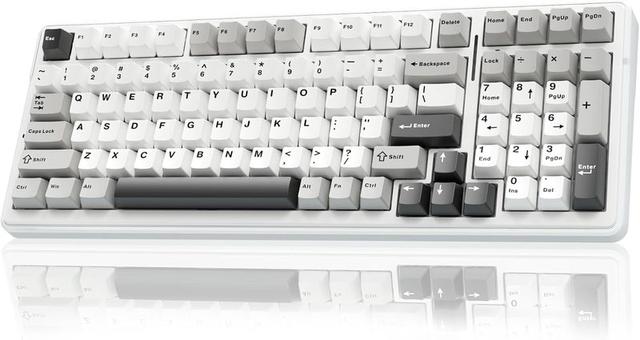
Our pick: AULA F99 Wireless Mechanical Keyboard,Tri-Mode BT5.0/2.4GHz/USB-C Hot Swappable Custom Keyboard,Pre-lubed Linear Switches,RGB Backlit Computer Gaming Keyboards for PC/Tablet/PS/Xbox
 Visit on Amazon →
This is the one I would start with if you type more than you game. It is a 99-key layout, which means you keep the arrow keys and the function row but lose the numpad, and that gives your mouse hand more room on a small desk. The switches come pre-lubed and linear, so the out-of-box feel is smooth rather than scratchy, and the hot-swap sockets mean you can swap them later without touching a soldering iron.
The tri-mode setup covers the three ways most people actually use a keyboard: the 2.4GHz dongle for a desktop, Bluetooth for a laptop or tablet, and USB-C when the battery is low. Check current Amazon price before you buy, because this class of board moves around a lot.
What to check when it arrives: tap the spacebar and the Enter key first. If they ping, plan on lubing the stabilizers before you judge the board. Then pull one switch with a puller and look at the socket. If the switch comes out clean and reseats with a click, you are set for years of switch swaps.
Flaws but not dealbreakers: A 99-key layout is a compromise. If you live in a spreadsheet, you will miss the numpad every day. The RGB is bright enough to be distracting on a dark desk, and turning it off is the fastest way to stretch battery life.
Anyone who codes, writes, or answers email all day and wants one board to carry between a desktop and a laptop should start here.
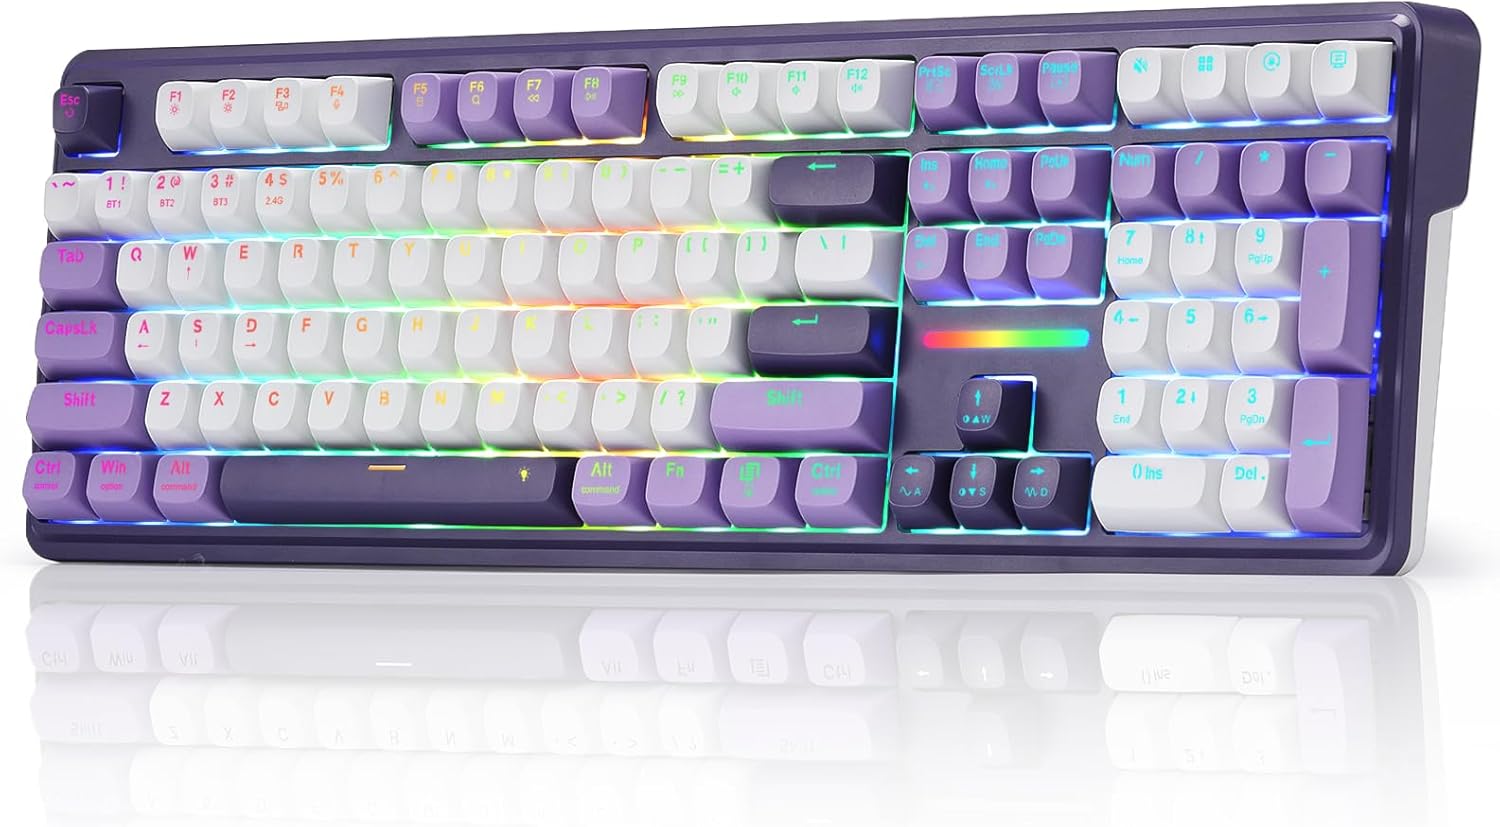
The full-size pick: Redragon K745 PRO Wireless 108-Key Gasket RGB Gaming Keyboard, 4 Hotkeys
 Visit on Amazon →
If you need the numpad, this is the layout to look at. It is a full 108-key board with a gasket mount, which is the detail that matters most here. A gasket mount sits the plate on soft material instead of screwing it hard into the case, and that softens the bottom-out on every keypress. It is the single biggest reason a board in this tier can sound and feel better than a board that bolts its plate straight to the frame.
The four dedicated hotkeys are the other reason to pick it. If you spend your day in a browser, an editor, or a spreadsheet, having media and shortcut keys that are not buried under a function layer saves you keystrokes every hour, and that adds up. Check current Amazon price, then decide whether the extra width fits your desk.
What to check when it arrives: the same rattle test. Gasket mounts and RGB do not fix cheap stabilizer wires, so listen before you commit. If the spacebar pings, lube the wires and re-test. If it still pings after lubing, the wire is bent and the board goes back.
Flaws but not dealbreakers: Full-size boards eat desk space, and this one is no exception. The gasket mount softens the feel, but it does not make a hollow case sound solid, so plan on a foam or tape mod if you want a deeper sound.
Anyone who does data entry, accounting work, or gaming with a numpad reach should look at this one first.
The actual tuning workflow
Here is the routine, in order. Do it once and the board is yours for years.
Step one: Charge it fully and pick a connection. Use the 2.4GHz dongle for a desktop and Bluetooth for anything you carry. Keep the USB-C cable on the desk as the fallback. Do not judge wireless battery life until the first full charge.
Step two: Fix the sleep timer. Most wireless boards ship with aggressive power saving that drops the connection after a minute or two of thought. Set the sleep timer to the longest option, or to never, and turn the backlight off when you are not looking at it. A board that disconnects mid-sentence is worse than a wired one.
Step three: Run the rattle test. Tap the spacebar, Enter, and both Shift keys. Then press each one slowly and listen. A metallic ping on the tap means the stabilizer wire is dry or the housing is loose. A rattle that persists on a slow press usually means the wire is bent, which is a return, not a project.
Step four: Lube the stabilizers. Pop the spacebar and the other stabilized keys, brush a thin layer of dielectric grease on the wire where it meets the housing, and put a small amount where the stem slides. Wipe the excess. This is the single highest-value mod on any budget board, and it takes about 20 minutes.
Step five: Deal with the hollow sound. If the case sounds like an empty plastic box, open it and add a layer of foam or tape under the PCB. A gasket mount already helps here, but foam helps more. Keep the layers thin so the plate does not bow.
Step six: Look at the keycaps. Thin ABS caps are the reason a good board can still sound cheap. You do not need to spend a fortune, but a set of thicker PBT caps changes the sound more than most people expect. Cheap caps feel worse than cheap cases, which is why this step matters.
Step seven: Swap a switch, just to know how. Pull one switch, look at the socket, and reseat it. Now you know the board is hot-swappable in practice and not just on the spec sheet. If you want a different feel later, you can change it in an afternoon instead of buying a new board.
Step eight: Set up the software once, then leave it. Remap the hotkeys, set your lighting, and save the profile to the board if it supports onboard memory. If the software demands an account to change the backlight, use the onboard shortcuts instead.
Step nine: Type on it for two weeks. This is the only test that matters. If you stop noticing the keyboard, it is good. If you keep noticing the spacebar, go back to step four.
Wireless habits that decide whether you keep it
Wireless is a feature until the battery dies mid-sentence. Two habits keep it from becoming a problem.
First, match the connection to the job. The 2.4GHz dongle is the low-latency option, so use it for gaming and for anything where you notice a delay. Bluetooth is the convenience option, and it is the one you want when you are switching between a laptop, a tablet, and a console. USB-C is the fallback, and using it while you work is not a failure, it is just charging.
Second, treat the backlight as a battery decision, not a decoration. RGB is the biggest drain on any wireless board. Dim it, set it to turn off after a few seconds, or turn it off entirely if you are chasing a full week of typing between charges. I test battery life with the backlight on precisely because that is how most people actually use the board.
The competition and why it lost
Most boards that fail this routine fail for the same three reasons.
The first is a soldered PCB. If you cannot pull a switch, you cannot fix a switch, and you cannot change the feel of the board later. In 2026 that is a dealbreaker for me.
The second is rattly stabilizers on an expensive board. There is no excuse for a premium board that pings on the spacebar out of the box. The cheap boards rattle, and the expensive boards are supposed to have solved it. When they have not, that is the build quality tell, and it tells you where else the money went.
The third is software that needs an account to change the RGB. A keyboard is a peripheral, not a service. If the lighting and remapping live behind a login, the board is worse than one with a simple onboard shortcut.
Keycap sets that cost more than the board also lose. This site is about boards, and a set of caps should never be the most expensive part of your setup.
What this all costs
The board is the only real purchase. Everything else in this routine is a small tool: a switch puller, a keycap puller, a tube of dielectric grease, a brush, and some foam or tape. Check current Amazon price on whichever board you pick, then budget for those small items once. They carry over to every keyboard you own after this one.
The math is simple. A board you tune and keep for three years is a better deal than a board you replace every year because the spacebar rattles and you never fixed it. The tuning is free, and it is the reason two people with the same keyboard can have completely different experiences with it.
That is the job. A budget board is not a compromise if you set it up right. It is just a board that needed an afternoon.