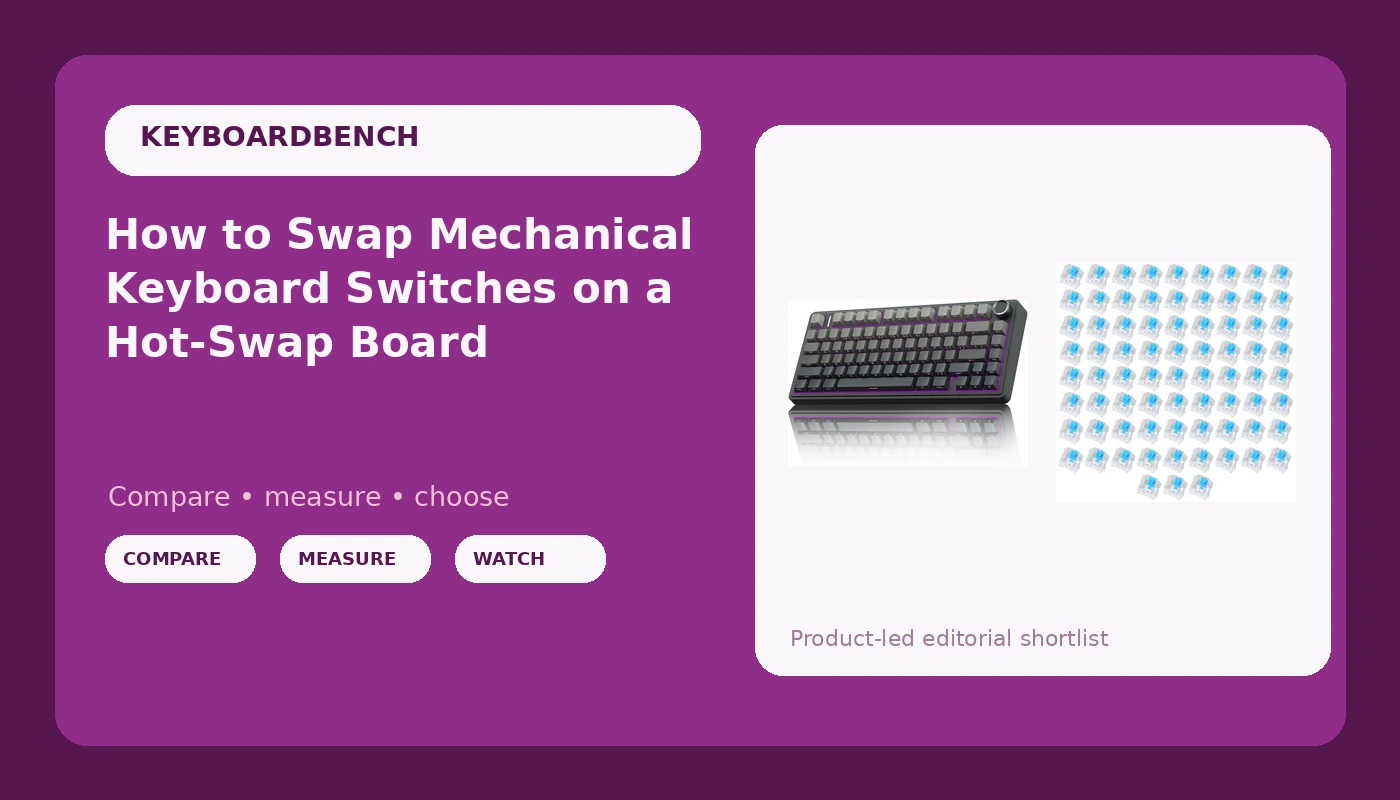
Hot-swap mechanical keyboard switches are the best thing that ever happened to this hobby. You do not need a soldering iron, you do not need a custom build, and you do not need to commit to one switch for the life of the board. You pull a keycap, squeeze a puller around the switch, lift it out, drop in something new, and press down until it seats.
I do this constantly. Every board that lands on my desk gets typed on for two weeks as my only daily driver, then the swapping starts, because the only way to know what a chassis really sounds like is to change what is under the keycaps. Some swaps take four minutes. Some take forty, because I bent a pin, did not notice, and spent twenty minutes convinced three keys were dead.
This is the version of that process I wish someone had handed me the first time I pulled a switch out of a hot-swap socket. It covers what you need, the order to do it in, the pin alignment mistake that kills more switches than anything else, and the clicky switch caveat nobody mentions until the set has already shipped.
Why you should trust me
I am a software engineer in Austin, Texas, and I type code eight hours a day on whatever board I am testing. That is the entire method. Two weeks of daily typing, a stabilizer rattle test with the board flat on the desk, and a switch comparison with my eyes closed so the keycap legends do not bias me.
I have built 14 custom boards and I own more than 30 sets of switches, which my roommate has opinions about. I have pulled, lubed, filmed, reseated, and ruined enough switches to know which mistakes are recoverable and which ones cost you a set. The board in this guide is one I lived on for two weeks of real work, not an unboxing. I do not review anything I have not typed on for at least ten working days, and I do not call a board good until the stabilizers stop rattling.
How I picked and how I tested
This guide uses one board and one switch set. The AULA F75 Pro was my daily driver for two weeks, which meant real code, real pull requests, and real meetings where I muted myself before typing. Then I pulled the stock switches out and dropped in the blue clicky set, which is the exact scenario this article is about.
The tests I ran are the same ones I run on everything. Stabilizer rattle check first, board flat on the desk, listening for the metallic ping on the spacebar and shift keys. Then a socket check after every pull, meaning I looked at each socket for bent contacts and reseated the switch to confirm it registered. Then a week of typing on the new switches before I formed an opinion, because the first hour with any clicky switch is fun and the third day is when you find out whether the sound wears on you.
What I am not going to do is promise you a socket specification I have not verified. I swapped the switches that came in the board and the set below. Anything beyond that is a claim I cannot back up.
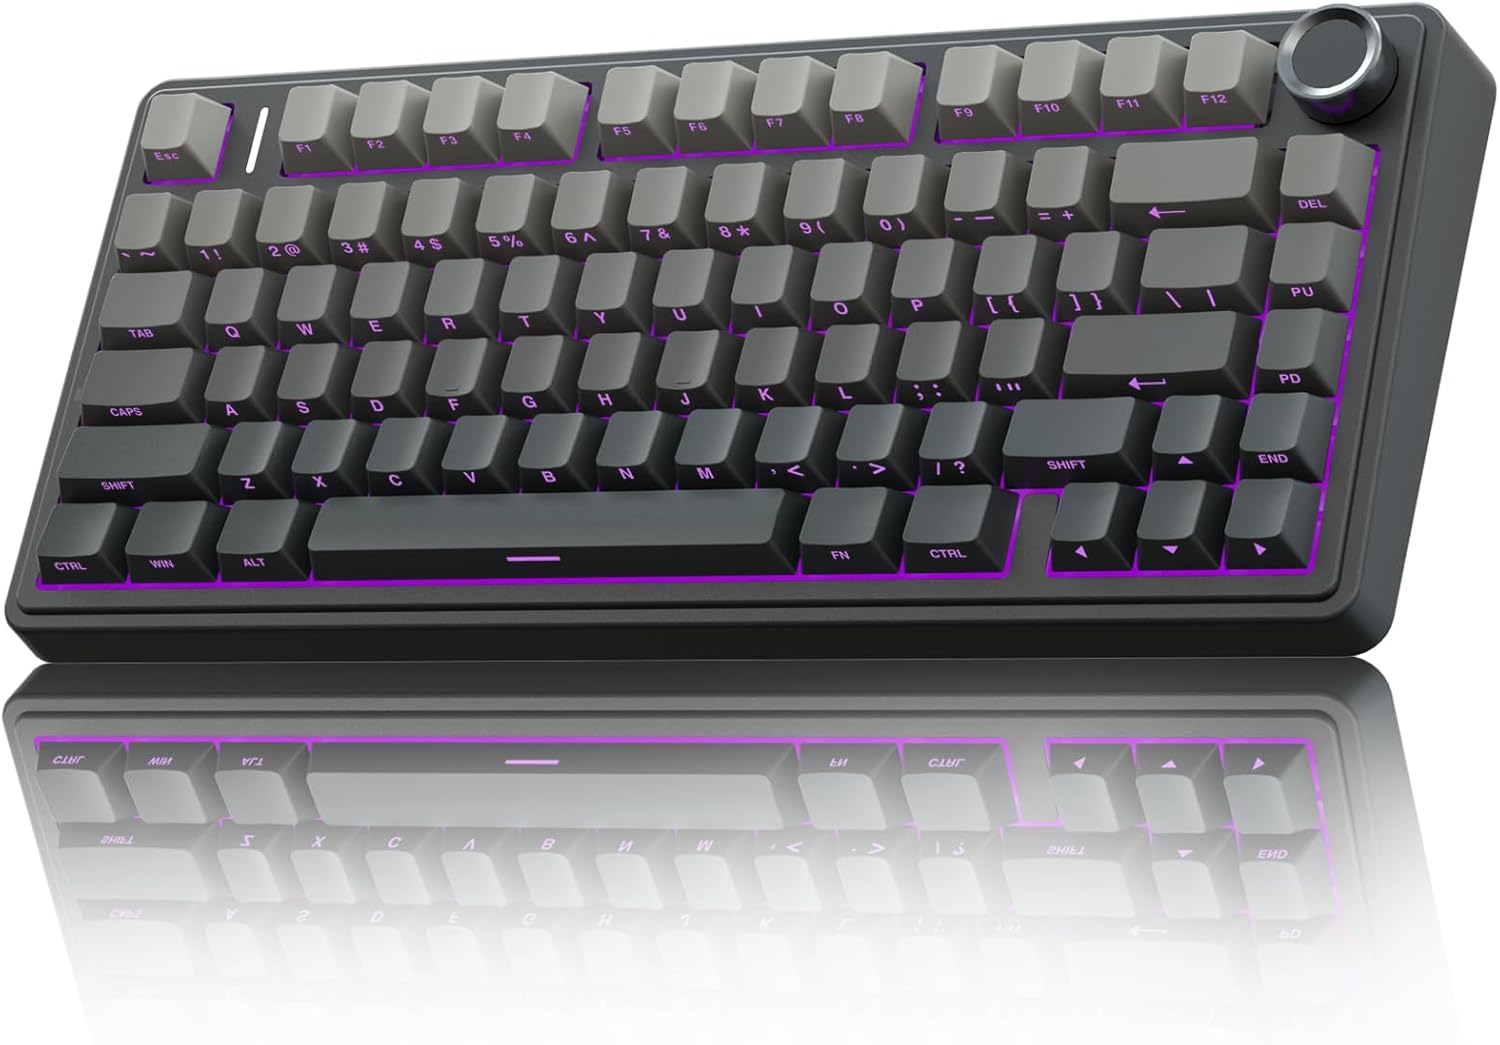
The board I typed on for two weeks: AULA F75 Pro Wireless Mechanical Keyboard,75% Hot Swappable Custom Keyboard with Knob,RGB Backlit,Pre-lubed Reaper Switches,Side Printed PBT Keycaps,2.4GHz/USB-C/BT5.0 Mechanical Gaming Keyboards
 Visit on Amazon →
This is the board I would hand someone who wants to learn switch swapping without risking a soldered PCB. It is a 75 percent layout, which means you keep the function row and the arrow cluster in a footprint barely wider than a laptop deck, and it has a knob, which I use for volume and would now struggle to give up. The keycaps are side printed PBT, so the legends are on the front face and do not wear off the top, and the board runs on 2.4GHz, USB-C, or Bluetooth 5.0 depending on what you are doing.
The reason it belongs in a how-to about swapping is that it is hot-swappable and it ships with pre-lubed Reaper switches already installed. That gives you a baseline. Type on it for a week, then pull four switches in the alpha block and put something else in. If the new switch feels better, you learned something about your own taste. If it does not, you put the original back and you lost nothing but time.
Check current Amazon price. Two weeks in, the stabilizers were quieter than I expected at this tier, which is the first thing I listen for and usually the first place a budget board gives itself away. The RGB is here if you want it and easy to ignore if you do not, and I do not.
Flaws but not dealbreakers: The side printed legends take a day to get used to if you look at your keys. The knob is a volume knob more than a productivity knob. And like every board in this price band, the stock switches are the compromise, which is exactly why the rest of this guide exists.
Anyone who wants one board that does work, gaming, and switch experiments without a soldering iron will get their money's worth here.
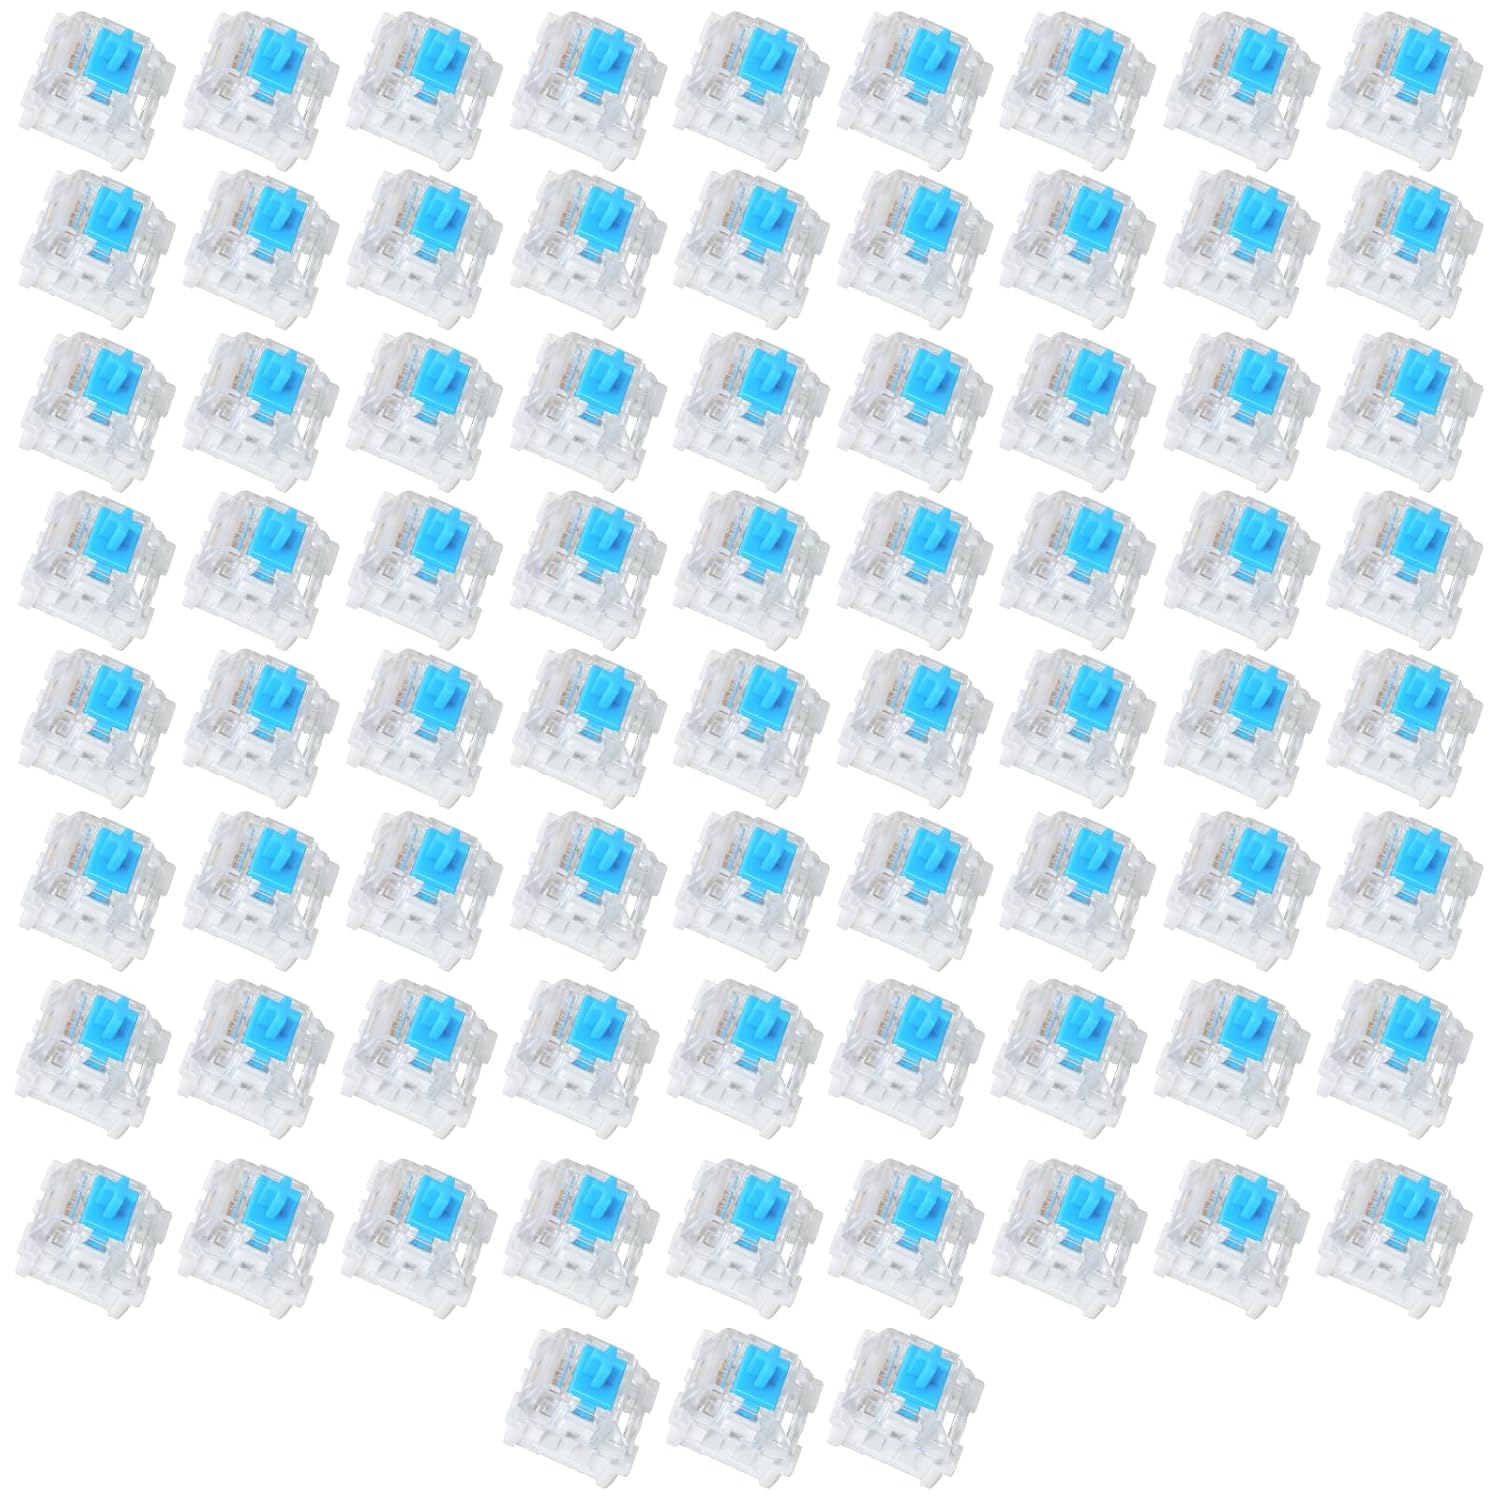
The switch set I swapped in: 72 Pieces Blue Mechanical Keyboard Switches, 3 Pin Pre-Lubricated Clicky Key Switches, Dustproof and Waterproof Keyboard Accessories for Mechanical Gaming Keyboard
 Visit on Amazon →
These are three pin, pre-lubricated, clicky switches, and they arrive in a 72 piece set. The click is the point. Clicky switches have a separate click mechanism that fires as the switch actuates, so you get an audible and tactile event at the exact moment the keystroke registers. If you learned to type on an old office keyboard and you have been chasing that sound ever since, this is the cheapest way to find out whether you actually still want it.
Three pin means the switch has a center post and two metal contact pins, and no extra plastic legs. That is the common configuration and it is what most hot-swap boards are built around, but check your board's socket before you order a set of anything. Pre-lubricated means someone already applied lubricant to the slider and the spring, so you are not buying a kit and a brush and an afternoon. Out of the set, the switches felt consistent, which is not always true at the budget end.
Check current Amazon price. The honest caveat is the count. A 75 percent board has more keys than 72, so a single set covers your alphas and the keys you touch constantly, not necessarily every key on the deck. Plan the swap around the block you type on and leave the function row alone.
Flaws but not dealbreakers: Clicky is loud. Not "my mechanical keyboard is loud" loud, but "the person on the other side of the call can hear you" loud. Do not put these in a shared office and then act surprised. Also, the click mechanism is a second moving part, so a clicky switch will never be as smooth as a good linear at the same price.
Anyone who types alone, wants feedback they can hear, and has never tried a clicky set should start here.
What you need before the first pull
You need less than you think, and most of it came in the box.
A keycap puller. The wire style is better than the plastic ring style because it does not scrape the sides of the caps. A switch puller, which is the small U shaped metal tool with two hooks. A shallow tray or a bowl so the switches you pull do not roll off the desk and into the void. A pair of tweezers or a tiny flathead screwdriver for straightening a bent pin. A key tester or a plain text file open on your screen so you can verify every switch registers before you put the keycaps back on.
And power. Turn the board off and unplug it before you start. I have pulled switches with a board awake and nothing died, but there is no upside to it, and if you do bend a pin on a live board you are debugging two problems instead of one.
The swap, step by step
Step one: Photograph the layout before you touch anything. Not because a 75 percent layout is hard to remember, but because the function row and the side printed legends are easy to mix up when you are dropping keycaps into a pile. Thirty seconds of phone photography has saved me from a very confused hour more than once.
Step two: Pull the keycaps off the keys you are swapping. Seat the puller under the cap, pull straight up, and do not twist. Twisting is how stems crack. If a cap fights you, it is probably sitting on a stabilizer, which means you are pulling the spacebar, shift, enter, or backspace, and those need a gentler hand and both sides lifted evenly.
Step three: Pull the switch straight up. Hooks on the sides, squeeze until the clips release, lift vertically. If it does not come out with moderate pressure, stop. Something is holding it, and pulling harder is how you rip a socket contact off the PCB. That is the one mistake on this list that is not recoverable with patience.
Step four: Inspect the pins on the new switch before it goes anywhere near the board. This is the step everyone skips and the step that causes almost every dead key. A three pin switch has two thin metal contact pins and one center post. Those two pins should be straight, parallel, and pointing straight down. If one is bent, lay it flat and straighten it gently with tweezers. Do not bend it back and forth, because metal fatigues and a pin that snaps is a dead switch.
Step five: Align and press straight down. Line up the center post with the hole in the plate, confirm both pins are over their sockets, and push straight down until you feel and hear it clip. Straight down means straight down. Angling the switch is how a pin folds under the housing and you do not find out until the key does nothing.
Step six: Test before you reinstall a single keycap. Open a text file or a key tester and press every switch you swapped. Do this now, while the switches are still exposed, because hunting a dead key under a full set of keycaps is a miserable way to spend an evening. If a key does not register, pull that switch, straighten the pin, and seat it again. Nine times out of ten that is the whole fix.
Step seven: Put the keycaps back on and press them down firmly. They should seat with a soft click and sit level with their neighbors. A cap that sits high is not fully seated, and it will feel scratchy until you fix it.
Step eight: Type on it for a week before you judge it. This is the part nobody wants to hear. The first hour with a new switch is adrenaline. The third day is when you find out whether the click is charming or exhausting, whether the weight suits your hands, and whether your coworkers have started closing your office door. Give it a week of real work before you decide, and give it two before you write anything down.
Where hot-swapping goes wrong
The bent pin. Covered above because it is the number one cause of dead keys. Straighten it once, gently, and if it bends again, retire the switch.
Pushing at an angle. The second most common failure. If a switch will not seat with a firm straight push, pull it out and look at the pins again. Force is never the answer here.
Ignoring the pin count. Three pin and five pin switches are not interchangeable in every board. Five pin switches have two extra plastic legs for PCB mounting. Some hot-swap boards accept them, some do not, and some require you to clip the legs. Know your socket before you buy a set.
Treating sockets as infinite. Hot-swap sockets are rated for a finite number of insertions. I do not have a number I trust for every board, and neither does anyone quoting one from memory. The practical rule is simple: swap when you have a reason. Do not pull switches because you are bored.
Judging a switch on day one. New switches, new keycaps, and a new board all change what you hear. Your desk surface changes it too. Sound is half the board and half the desk, and your first impression is the least reliable data you will ever collect.
The alternatives, and why they lost
A soldered board is the traditional answer, and it is a better answer if you already know exactly what switch you want forever. It is a worse answer if you are still learning, because every experiment costs you a desoldering session and a Saturday.
Optical and analog boards are a genuinely different category. They use light or magnetic sensing instead of metal contacts, which unlocks features a mechanical switch cannot offer. They are also a different purchase decision, not a switch swap, and you cannot drop a standard three pin switch into them.
Linear and tactile sets are the other two options in the same aisle as the clicky set above. Linear is smooth with no bump, tactile has a bump you can feel without the noise. I recommend linears to almost everyone, which my own writing contradicts, because I also believe switch feel is personal and you should try all three before you decide. The clicky set is the one to buy if you want the sound. If you want the feel without the noise, buy tactile.
Pre-built gaming boards at the top of the price range are the option I would skip for this purpose. You are paying for the badge and the marketing, and the stabilizers on a lot of them rattle exactly like the budget boards. Rattle is the tell, and money does not automatically fix it.
What this all costs
The math here is simple and it favors the swap over the purchase. A switch set is the cheapest meaningful upgrade in this hobby. It is cheaper than a keycap set, cheaper than a new board, and it changes how the board feels more than either of those.
The board is the one real expense, and the point of picking a hot-swap board is that you only pay for it once. Buy a board with sockets, and every future experiment costs you a set of switches instead of a new keyboard.
Check current Amazon price on the board and the switches, do the division over the years you plan to keep typing, and the per-day number gets small fast. What you are really buying is the ability to change your mind, which is the only feature in this hobby that never goes obsolete.
Pull one switch. Put it back. Do it again with a different one. That is the whole skill, and once you have it, no board is a closed system anymore.