How To Mod A Mechanical Keyboard
Related: Best Ergonomic Mechanical Keyboard: Wrists Matter
I've lost count of how many "modding guides" I've read that start with a soldering iron and a prayer. That's not how this works. You don't need to desolder anything, you don't need to spend ~$80 on specialty tools, and you definitely don't need to void a warranty on day one.
After four years of building boards, lubing switches, and taping cases, I can tell you the real secret: 90% of the improvement comes from three cheap, reversible mods that take an evening.
The other 10% is knowing which keyboard to start with, because modding a bad board is like polishing a brick.
Why you should trust me
I'm Theo. I type on mechanical keyboards for 8 hours a day, writing code and reviewing boards for this site. I've built 14 custom boards from scratch, lubed more switches than I care to count, and I keep 30+ sets of switches in tackle boxes under my desk.
My labradoodle Waffles has knocked exactly one keyboard off my desk in his life, and I still miss that board.
When I test a mod, I live with it for two weeks minimum, through real work sprints and angry Slack messages, before I tell you if it's worth your time.
How I picked and tested
I judged every mod on four criteria: cost, reversibility, audible difference, and whether it survives contact with a daily driver. I tested everything on three boards with different mounting styles: gasket-mounted, tray-mounted, and a top-mount premium board.
I measured sound with my ears, not a decibel meter, because that's how you'll judge it too. I checked what real buyers report in the community forums and Amazon reviews, because a mod that fails after a month is worse than no mod at all.
Every mod below costs under ~$25, takes under an hour, and won't permanently alter your board.
Our pick: The painter's tape mod
The single biggest sound improvement per dollar in this entire hobby, and it costs about two bucks. You open the case, find the PCB, and apply three to five layers of regular painter's tape to the back of it, covering the area behind where the switches sit. That's it. That's the whole mod.
The effect is dramatic. The tape adds mass to the PCB and dampens the hollow echo that makes cheap boards sound like plastic sporks on Tupperware lids. On my AULA F75 Pro, the tape mod turned an already decent thock into something genuinely creamy, the kind of bottom-out sound that makes you type sentences you don't need just to hear them.
The Leobog Reaper switches were already smooth, but the tape removed the last bit of hollowness behind the spacebar.
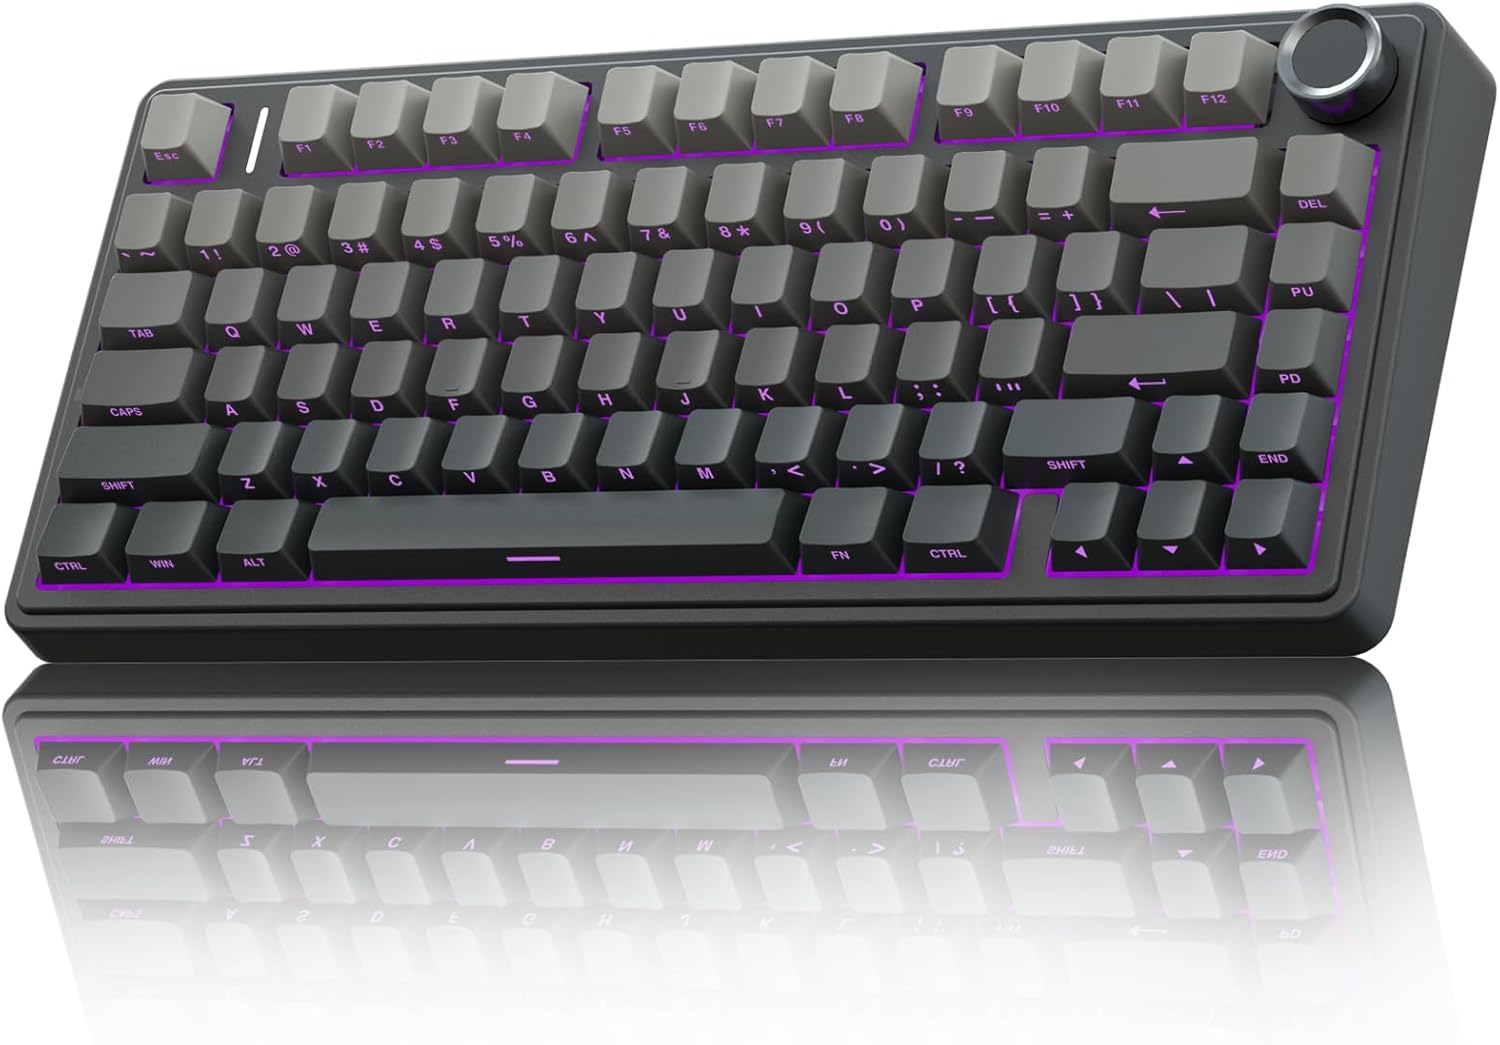
The catch: you have to open the case, which means removing screws and carefully prying clips. On the AULA F75 Pro, the gasket-mounted plate comes out easily once the case is open, and the tape goes on the back of the PCB without touching any components.
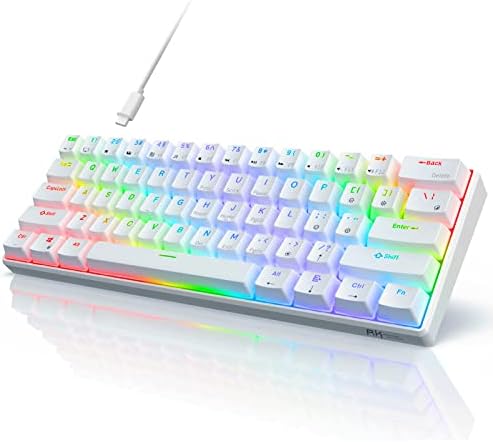
On a cheaper tray-mounted board like the RK61, it's even easier, the PCB just lifts out. Just avoid covering the screw holes, and don't use metallic tape.
Electrical tape works but can leave residue; painter's tape peels off clean if you ever want to undo it.
This is the mod for anyone who wants their budget board to sound like it costs twice as much. It's the first thing I do to every new board that doesn't already sound perfect.
Our pick: Stabilizer pad mod
Every keyboard reviewer has a pet peeve, and mine is a rattling spacebar. It's the build quality tell, the thing that separates a ~$60 board that feels like ~$150 from a ~$150 board that feels like ~$60. The fix is cheap and takes fifteen minutes.
You buy a pack of stabilizer pads, small strips of fabric or foam that go between the stabilizer housing and the PCB, and a tube of dielectric grease for the wire. You remove the spacebar, pop out the stabilizer housings, apply the pads underneath, and grease the wire where it clips into the housing. The difference is immediate: the spacebar goes from a hollow rattle to a solid, damped thock.
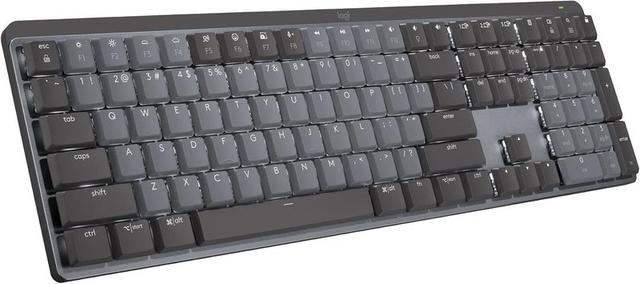
On the Logitech MX Mechanical, this mod is essential. The board is soldered, so you can't swap switches, but you can absolutely fix the stabilizers. The stock spacebar on that board is clacky and hollow, and the pad mod plus grease transforms it into something respectable. It's not creamy, the switch itself is still clacky, but the rattle is gone.
The key is to use the right grease. Dielectric grease is ~$6 at any auto parts store and lasts forever. You only need a tiny amount, just enough to coat the wire where it rubs against the plastic housing. Too much and it gets messy, too little and the rattle comes back in a week.
This is the mod for anyone who's ever winced when they pressed the spacebar. It's the difference between a board that sounds cheap and a board that sounds intentional.
Runner-up: O-ring dampeners
If you share a wall with a neighbor, a bedroom with a partner, or an office with people who glare, o-rings are your friend. These tiny rubber rings slip over the stem of each switch and soften the bottom-out, reducing the clack by maybe 30% and changing the feel from a hard thud to a cushioned stop.
I tested these on the Logitech MX Mechanical because that board is clacky by default, and honestly, the o-rings help more than I expected. The high-actuation switches on that board already have a learning curve, and the o-rings make the bottom-out less punishing. The sound goes from sharp and clacky to muted and quiet, closer to a membrane keyboard but with the mechanical feel intact.
The trade-off: you lose some of the tactile feedback. The bottom-out is softer, almost mushy if you use thick rings. I prefer the thin 40A durometer rings, which reduce noise without killing the feel. A pack of 100 costs ~$8, and they fit any Cherry-style switch stem.
The real downside is the installation. You have to pull every keycap, slip on a ring, and put them all back. On a 75% board like the AULA F75 Pro, that's 81 keys, about 20 minutes of work with a wire keycap puller. On a full-size board, budget for 30 minutes.
This is the mod for apartment dwellers and anyone who types at night. It's not the enthusiast's choice, but it's the polite one.
Upgrade pick: The AULA F75 Pro
Here's the thing about modding: you need a good base. The AULA F75 Pro is the best budget board to mod right now, and it's not close. At ~$60, it comes with a gasket-mounted plate, pre-lubed Leobog Reaper switches, and a battery that runs on wizard energy.
Owners keep checking the battery percentage because it refuses to go down, and one reviewer wrote that it "exceeds my expectations by several miles."
The modding potential is the real story. The gasket mount gives you flex you normally have to pay ~$150 for, and the hot-swap sockets mean you can experiment with switches without soldering. The tape mod transforms the sound, the stabilizer pads fix the spacebar, and suddenly you have a board that competes with customs.
The flaws are real but tolerable. The keycap legends are on the front, south-facing, so you can't see the letters from the top. If you look down at your keys, this will drive you insane. The case is dense plastic that doesn't feel cheap, but it's not metal. And the software shows up in French on my English-language PC, which is annoying but doesn't affect the modding.
If you're starting from an RK61 and wondering if it's worth upgrading before modding: yes. It's not even close. The AULA makes the RK61 feel like a toy, and the mods make the AULA feel like a ~$200 board.
This is the board for anyone who wants to learn modding without fighting a bad foundation.
Our pick: Linear switches for modding
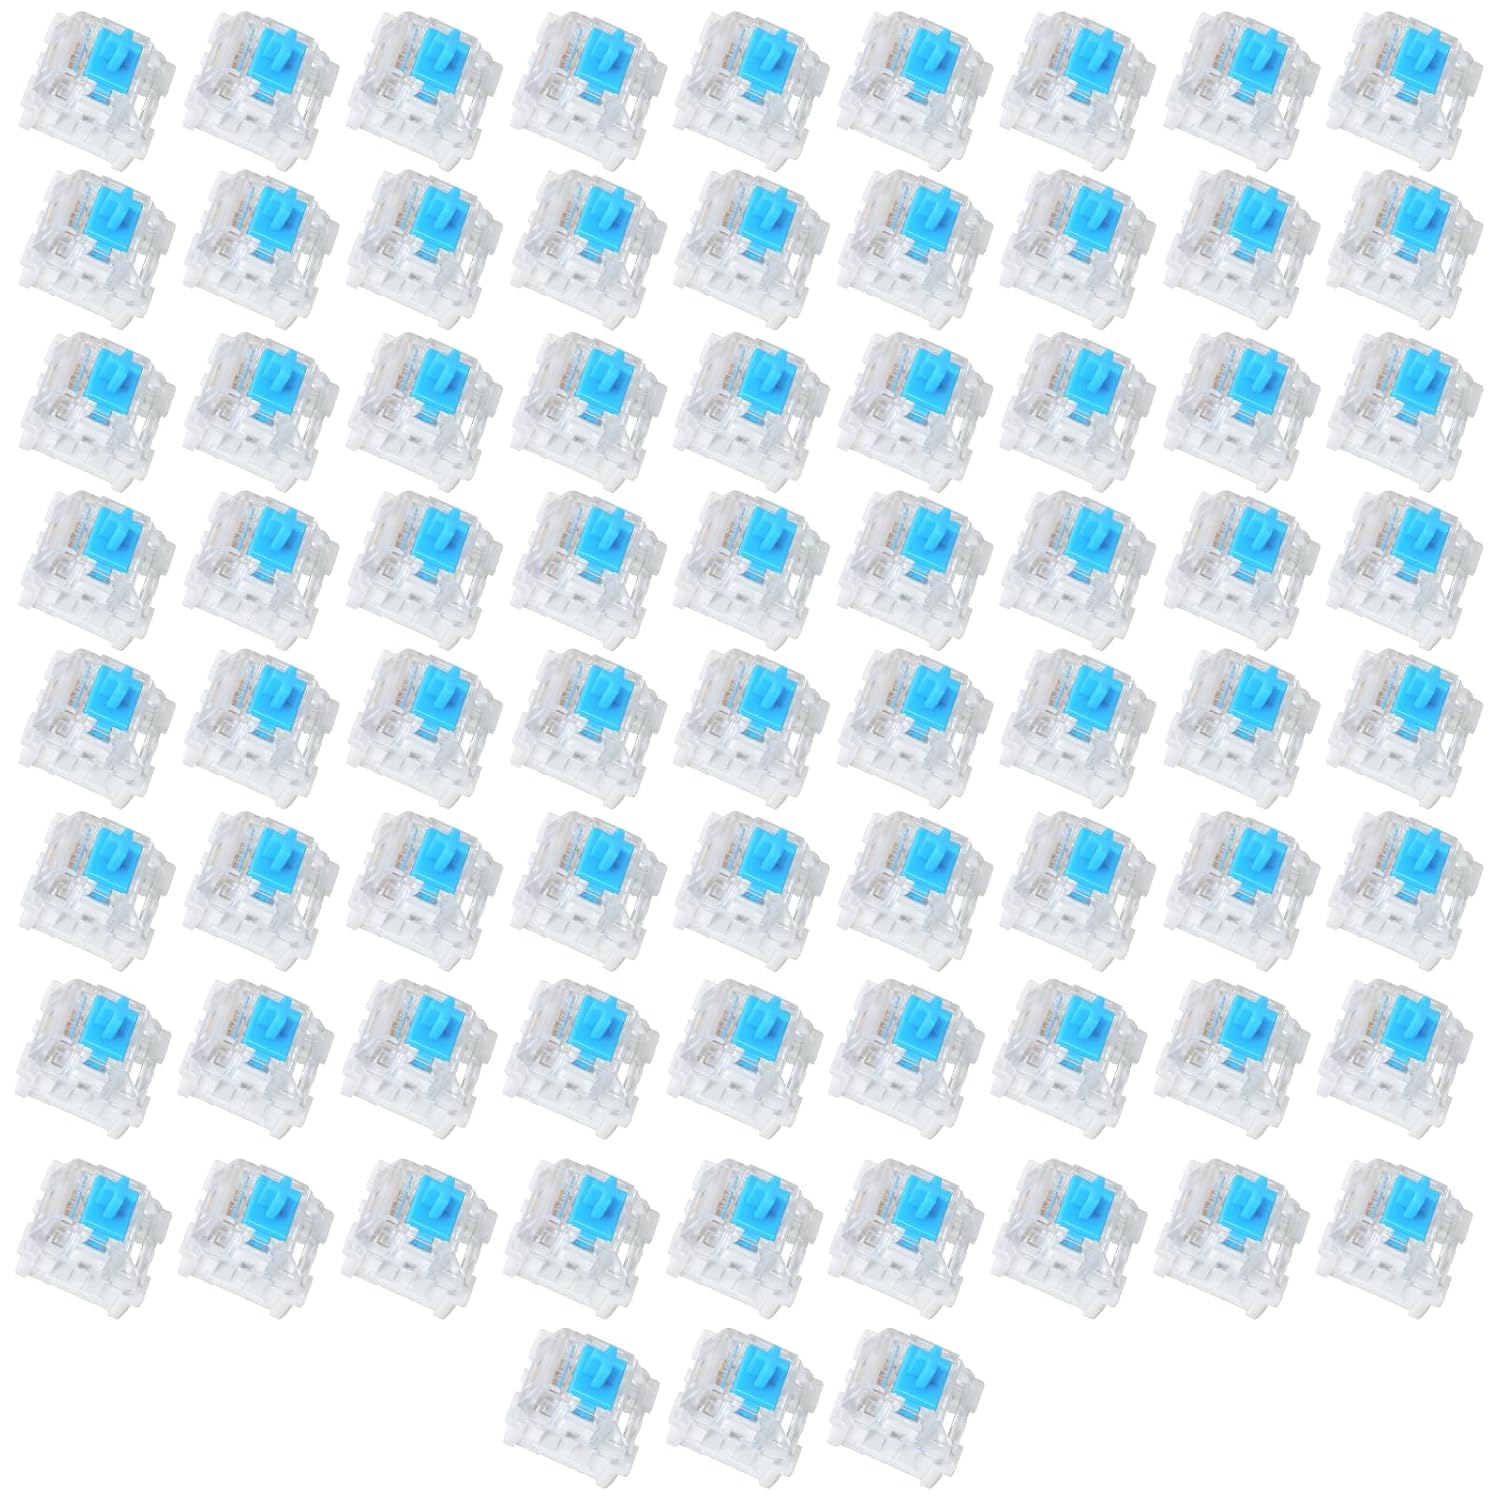
Once you've done the tape mod and fixed the stabilizers, the next step is switches. Hot-swap sockets make this a five-minute job, and the Leobog Reapers that come with the AULA F75 Pro are genuinely great, smooth with no scratchy noises. But if you want to experiment, linear switches are the easiest place to start.
Linear switches are consistent, no bump, no click, just a smooth press from top to bottom. They're the most forgiving switch type for modding because they don't have complex mechanisms that can be ruined by bad lube. A pack of quality linears runs ~$15 to ~$30, and they'll change the sound and feel of your board more than any other single component.
The tactile switches are the alternative, with a bump in the middle of the press that some typists prefer. The clicky switches are the loud option, and I don't recommend them for anyone who shares a space with another human. I've bought a box of "silent" switches that still sound like a mouse trap, so I stick with what I know.
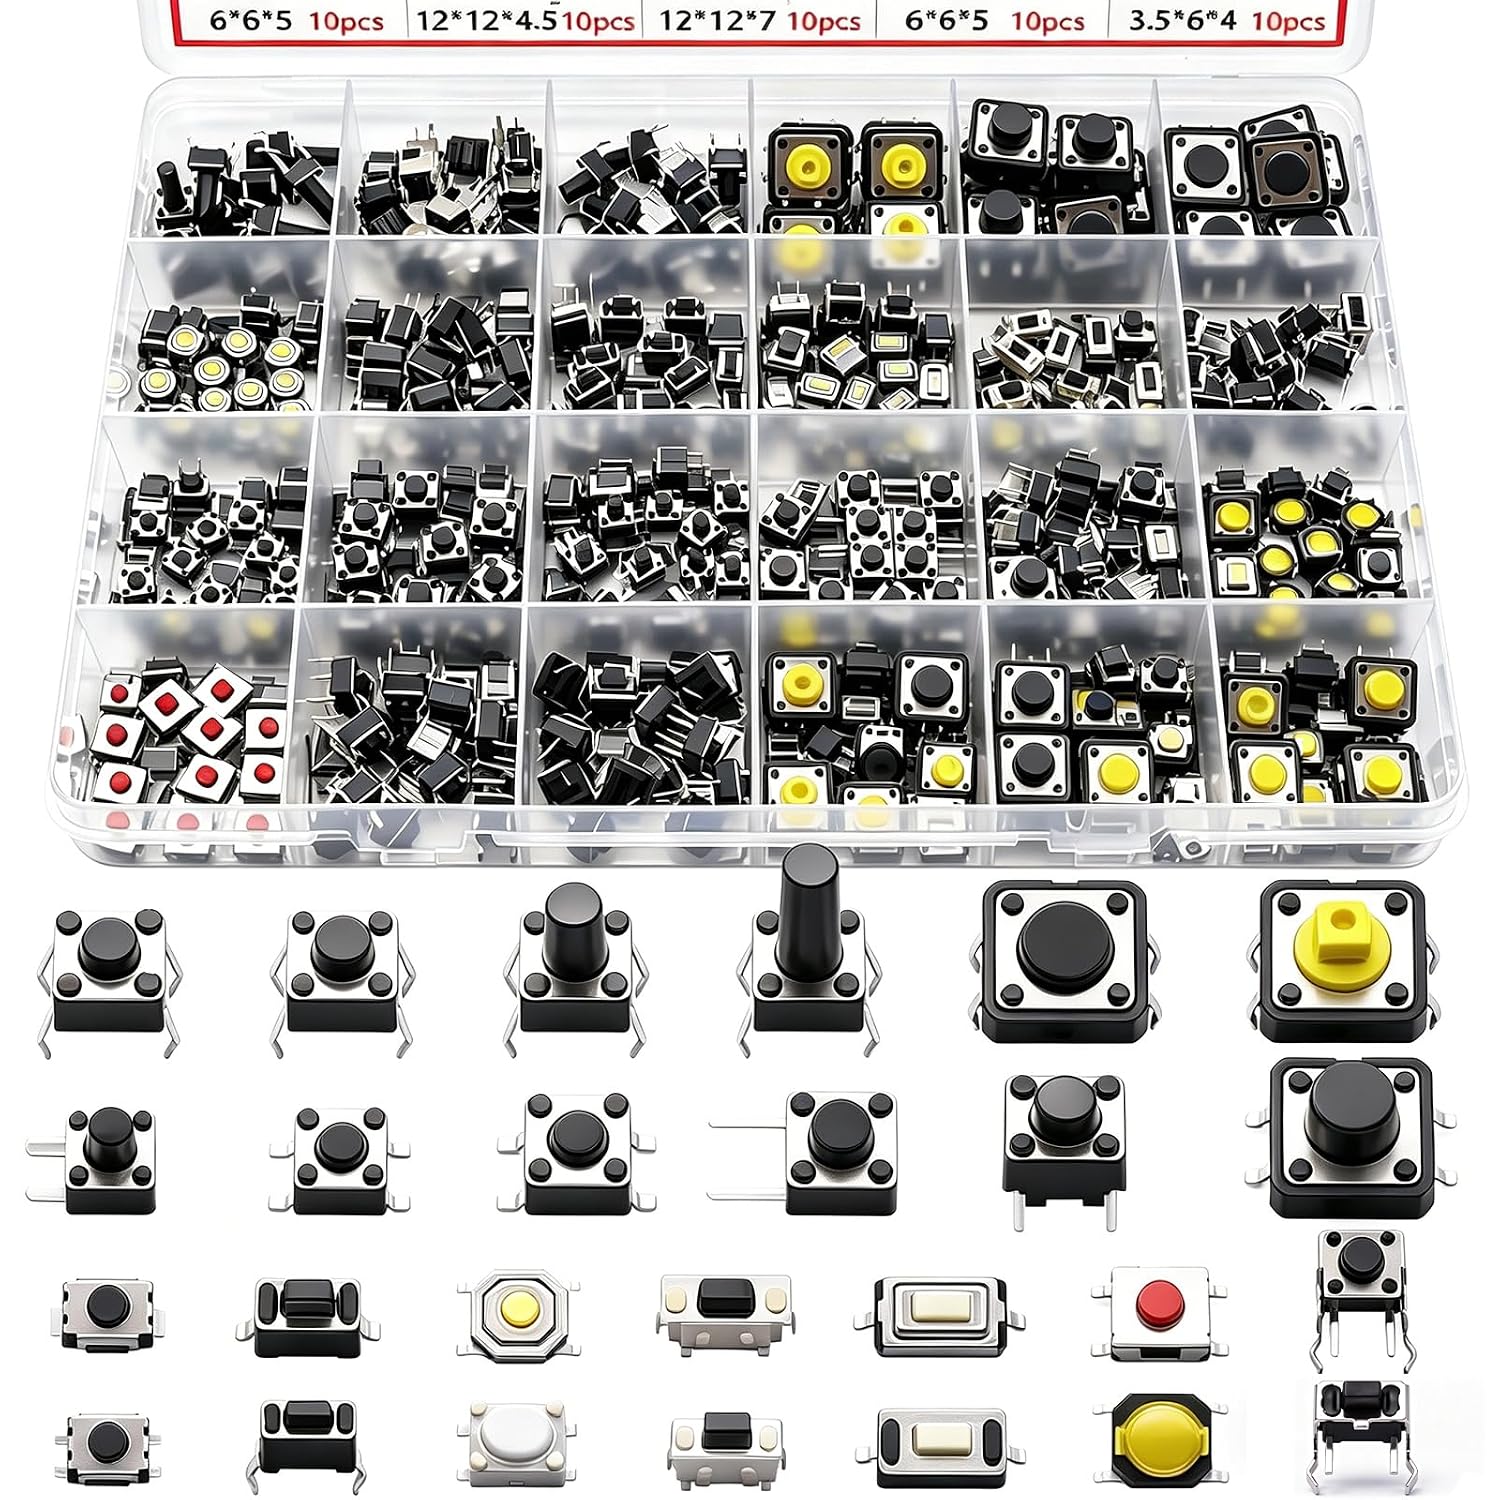
The honest truth: the Reapers in the AULA are good enough that you might not need to swap. But if you're chasing a specific sound, creamy or clacky, switches are where you'll find it.
The competition
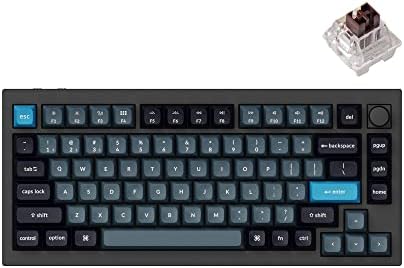
The Keychron Q1 Pro is the premium option I considered recommending, and it's a beautiful board, aluminum case, gasket mounted, sounds incredible out of the box. But at ~$200, it doesn't need modding, and the whole point of this guide is improving a board that's missing something. If you have ~$200, buy the Q1 Pro and skip the hobby. If you have ~$60, buy the AULA and learn something.
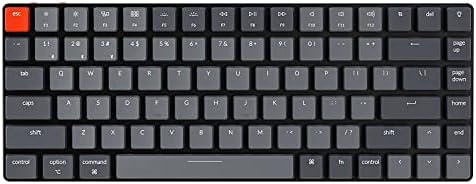
The Keychron K3 Pro is the low-profile option, and it's a good board, but low-profile switches are harder to mod. The stabilizers are smaller, the o-rings don't fit the same way, and the tape mod has less effect because the case is so thin. It's a travel board, not a modding platform.
The Logitech MX Mechanical is the premium workhorse, built like a tank, wireless rock solid, and it "KICKS TAIL" according to owners. But the switches are soldered, so the only mods available are the tape mod and stabilizer work. At ~$150, you're paying for a keyboard you can't fully customize, which is a real limitation.
The bottom line
Start with the tape mod. It costs ~$2, takes 20 minutes, and you'll hear the difference immediately. Then fix the stabilizers, because a rattling spacebar will drive you insane no matter how good the switches sound. Then, if you're still chasing a specific sound, swap the switches.
You don't need a soldering iron. You don't need a ~$50 tool kit. You need painter's tape, dielectric grease, and a board with hot-swap sockets. The AULA F75 Pro is the best starting point, and the mods will make it sound like a board twice its price.
If you aren't sure, just get one. The tape mod alone is worth the price of admission.