Most keyboards arrive tuned for a warehouse shelf, not for your desk. A wireless mechanical keyboard setup is really four jobs stacked on top of each other: get the thing connected reliably, check the parts the factory cuts corners on, make the switches yours, and map the board so your hands stop reaching for keys that are not there.
I run this same workflow on every board that lands in my apartment, and it takes about an hour. Do it once and you stop thinking about the keyboard, which is the whole point.
Why you should trust me
I write code eight hours a day on whatever board is on my desk, and I have built 14 custom boards over the last several years. That means I have pulled, lubed, filmed, and reseated more switches than I can count, and I have learned the hard way that the factory setup is never the final setup.
My test is always the same: two weeks of daily typing, a stabilizer rattle check on every long key, and a blind switch comparison where I type on two boards with my eyes closed and try to tell them apart. If I cannot tell them apart, the difference does not matter to anyone who is not measuring it with a microphone.
Everything below is a workflow, not a shopping list. You can run it on almost any hot-swap wireless board.
How I picked and how I tested
For this guide I am working with two boards that sit in the same bracket and solve the same problem from different directions: a full-size QMK board built for people who live in a text editor, and a gasket board with a screen and a knob built for people who want the desk to look interesting.
Both are hot-swap, which in 2026 is non-negotiable for me. Soldering is a hobby, not a requirement, and a board you cannot change is a board you will outgrow.
What I checked on both: how the stabilizers sound on the spacebar, shift, backspace, and enter with the board sitting on a desk mat; whether the wireless connection held through a full workday with a phone and a laptop both paired; how long the battery lasted with backlighting on and off; and whether the keycaps felt like something I would keep or something I would replace in a week.
I did not measure anything with lab equipment, and I am not going to pretend otherwise. The stabilizer rattle test is my ears, and my ears have been doing this long enough to know a rattle from a thock.
The two boards worth setting up this way
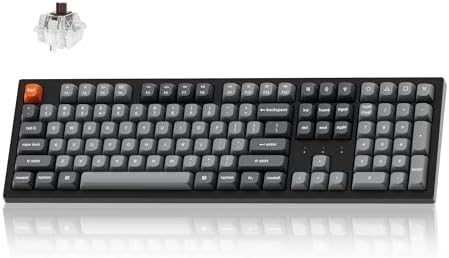
Our pick: Keychron K10 Max QMK Wireless Custom Mechanical Full-Size Keyboard
 Visit on Amazon →
Keychron is the best value brand in this hobby, and the K series is the best entry point into it. The K10 Max is the full-size version, so you get a number pad, which matters if you spend your day in a spreadsheet or a terminal. It runs QMK and VIA, it is hot-swap, and it connects over Bluetooth, 2.4GHz, or USB-C.
The reason I put this one first is the firmware. QMK and VIA mean you can remap every key, build layers, and move the things you actually use under your fingers without installing a piece of software that wants an account first. That is a bigger quality-of-life upgrade than any switch swap.
Flaws but not dealbreakers: Full-size boards take up real desk space, and the stock keycaps are the first thing most people replace. Check current Amazon price and budget for a keycap set if you care about sound.
Anyone who types for a living and wants one board that does everything should start here.
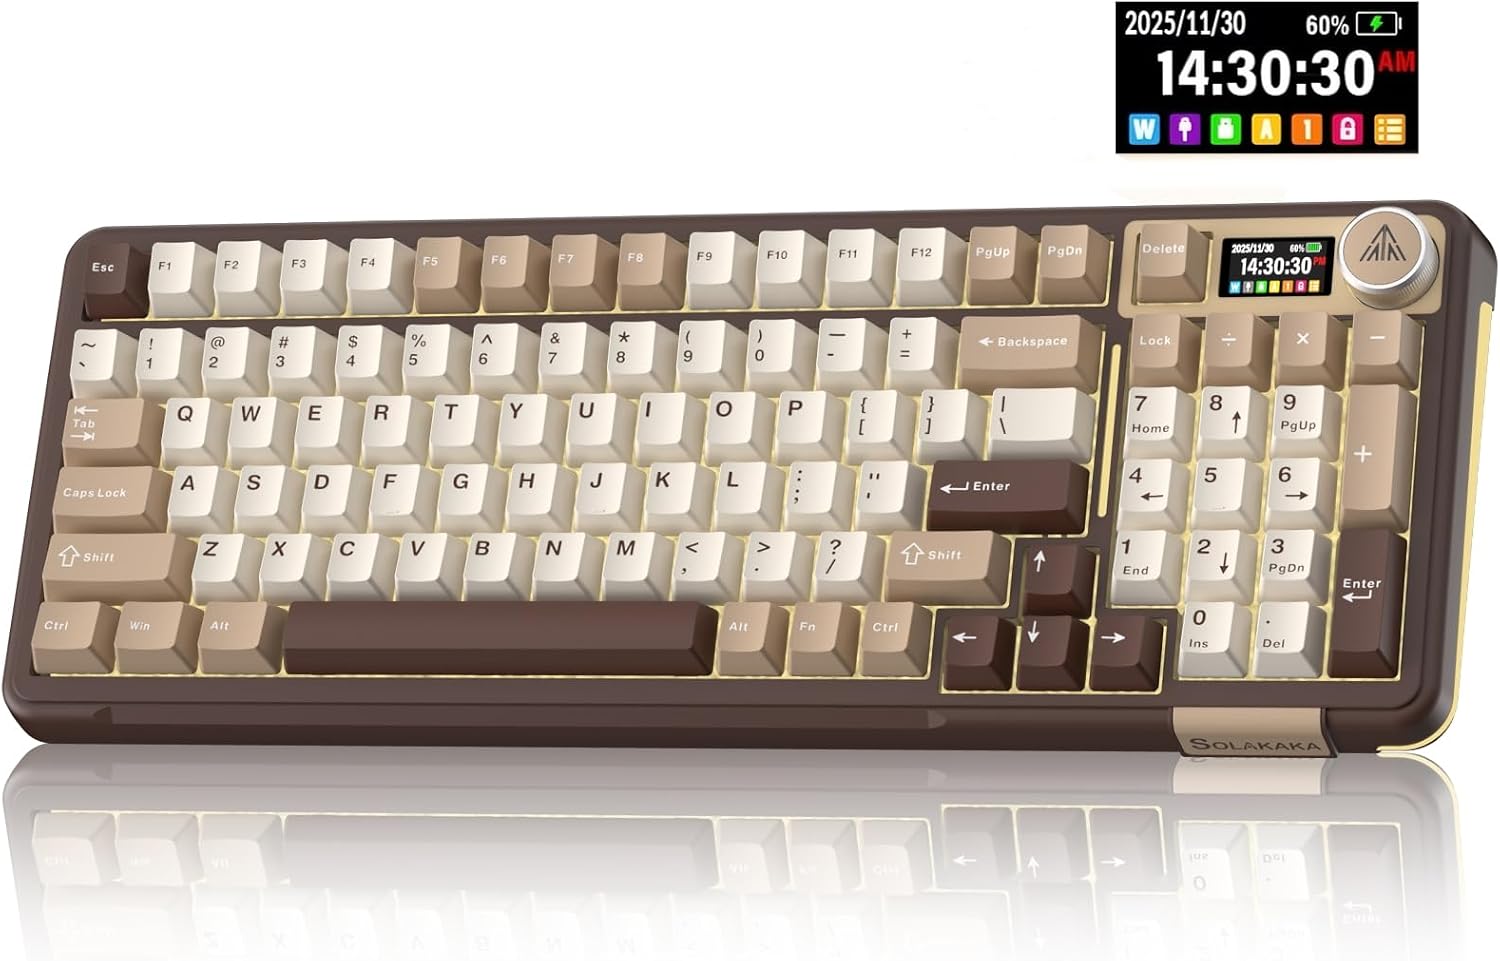
Budget pick: SOLAKAKA A99 Pro Mechanical Keyboard with LCD Screen & Metal Knob, Wireless Gaming Keyboard with BT5.0/2.4GHz/USB-C, Hot Swappable Creamy Keyboard, Gasket Structure, RGB Backlit, for Win/Mac
 Visit on Amazon →
This one costs less and gives you more toys. The gasket structure softens the typing feel, the LCD screen and metal knob give you volume, media, and connection status without hunting through menus, and the creamy out-of-box sound is the profile a lot of people are chasing right now.
It also does all three connection modes, Bluetooth 5.0, 2.4GHz, and USB-C, and it is hot-swap, so the switches are not a permanent decision.
Flaws but not dealbreakers: A screen and a knob are features until the software behind them gets in the way. Configure them once, then leave them alone. Budget boards also save money on stabilizers first, which is exactly why the rattle test below is step one and not step nine.
Anyone who games and types at the same desk and wants the setup to look like a setup will get more out of this one.
The actual setup workflow
Step one: charge it before you judge it. Wireless boards ship with a partial charge, and a board running low does strange things, including dropping Bluetooth and dimming the backlight in ways that look like defects. Plug in USB-C and let it fill up before you form any opinion.
Step two: pick your connection on purpose. Use the 2.4GHz dongle for gaming. It is the lowest-latency option and it does not care what your Bluetooth radio is doing. Use Bluetooth for switching between a laptop, a desktop, and a tablet, since most of these boards hold three paired devices. Use USB-C when you are flashing firmware, and only then, because a dropped wireless connection in the middle of a firmware write is a bad afternoon.
Step three: pair Bluetooth in the right order. Put the keyboard in pairing mode first, usually by holding the function key plus a number key for a few seconds until the indicator flashes, then open Bluetooth settings on the computer and add the device. Doing it in the reverse order is why people end up with two entries for the same keyboard and a connection that drops every ten minutes. Delete the duplicate.
Step four: fix the dongle placement. If the 2.4GHz receiver goes into a port on the back of a metal case under a metal desk, you are asking for stutter. A short USB extension cable that puts the dongle on top of the desk solves more connection complaints than any driver update.
Step five: run the stabilizer rattle test. This is the first thing I do on every board, and it is the difference between a cheap board and a good one. Press the spacebar, both shifts, backspace, and enter, and listen. A clean stabilizer is quiet and even. A bad one pings, rattles, or sounds hollow on one side. If it rattles, the fix is lube on the stabilizer wire and housing, and sometimes a small strip of tape under the wire. If it still rattles after that, the board saved money in the wrong place, and you want to know that before the return window closes.
Step six: swap the switches you do not like. Hot-swap means a switch puller and ten minutes. Pull straight up, line up the two metal pins and the plastic stem on the new switch, and press until it seats. Do it with the board unplugged, and do not force anything. If a switch will not go in, a pin is bent, and bending it back with a fingernail is faster than ordering a replacement.
Step seven: set up your layers. On the Keychron, install VIA, plug in over USB-C, and remap away. Move escape, enter, and the arrow keys closer to home row if you are on a smaller layout, and put media controls somewhere you can reach without looking. Save the layout to a file so you can restore it after a firmware update.
Step eight: deal with the knob and the screen. On the SOLAKAKA, decide once what the knob does, whether that is volume or scroll or zoom, and what the screen shows, whether that is connection mode or battery or a static image. Then stop fiddling. The trap with feature-rich boards is that you spend a month configuring the display instead of typing on the thing.
Step nine: judge the keycaps. Keycap quality tells you more about a board than the case material does. Cheap ABS caps get shiny and slippery within months, and they make a good board feel worse than it is. If the caps feel greasy on day one, plan to replace them, and check the profile before you order so the new set matches the height you already like.
Step ten: set the battery habits now. Turn the backlight down or off if you want to charge weekly instead of daily. Set the sleep timer to something aggressive, five or ten minutes, and accept the one-second wake delay. Keep the USB-C cable where you can reach it, because every wireless board eventually becomes a wired board for twenty minutes.
Common problems and how to fix them
The keyboard types by itself or repeats characters. Usually a stuck key from a bent switch pin or a Bluetooth connection that is too far away. Reseat the switch, then move the dongle or the keyboard.
Bluetooth drops when the laptop lid closes. That is your computer's radio power management, not the keyboard. Use the 2.4GHz dongle for that machine.
The spacebar sounds hollow. That is the case and the plate, not the switch. A layer of tape inside the case and a little foam under the spacebar will change the sound more than a new switch set.
The backlight is eating the battery. It always does. Lighting is the single biggest battery cost on a wireless board.
What this setup does not fix
Setup cannot rescue a board with the wrong layout for your hands. If you need a number pad and you buy a compact board because it looked good in a photo, no amount of remapping will make you happy.
It also will not fix a rattly stabilizer on a board that is not hot-swap and has no accessible stabilizers. That is a return, not a project.
And it will not make you faster. A keyboard you have configured well gets out of your way, which is different from making you a better typist. The speed comes from the layout you build and the two weeks you spend building the muscle memory for it.
The bottom line
A wireless mechanical keyboard setup is an hour of work: charge, connect, listen for rattle, swap what you do not like, map your layers, and set the battery habits. Do it properly and you will stop noticing the keyboard, which is the highest compliment I can pay one.
If you want the board that does the most out of the box and the most through firmware, the Keychron K10 Max is the one I would set up first. If you want the same workflow with a screen, a knob, and a softer gasket feel for less, the SOLAKAKA A99 Pro is the one to try. Either way, check current Amazon price, then do the work.