Most people learn about how to lube keyboard switches the same way I did: they buy a budget board, type on it for a week, and start wondering why it sounds hollow and why the spacebar rattles every time their thumb lands on it. Lubricant answers the first problem. Stabilizer tuning answers the second. Neither one requires a soldering iron, a custom PCB, or a group buy budget.
This guide is built around one board and one lubricant, plus the process I run on every keyboard that lands on my desk. The board is a full-size, wired, typewriter style mechanical keyboard with 104 keys, which makes it a good practice subject. A full-size layout carries more stabilizers than anything else you can buy, and stabilizers are where cheap boards give themselves away.
By the end you will know which parts get lubricant, which parts absolutely do not, and how to test three switches before you commit an evening to 104 of them.
Why you should trust me
I write code for a living in Austin, which means eight hours a day on whatever board is currently on my desk, and I have built 14 custom boards on my own time. I own more than 30 sets of switches, a number my roommate has opinions about, and a keycap collection that occupies a shelf he negotiated for in writing.
Every board I touch gets the same treatment: two weeks of daily typing, a stabilizer rattle test, and a switch feel comparison with my eyes closed. That routine is why I care more about stabilizer tuning than about case material, and why I will tell you to spend your money on lubricant and a switch opener before you spend it on another board.
What I will not do is tell you exactly how a specific board will feel after you mod it. Switch feel is personal. The process is what transfers.
How I picked the board and the lubricant
I picked a 104-key wired board for this guide on purpose. A full-size layout has six or more stabilizers (spacebar, both shifts, enter, backspace, and the numpad keys), so you get more practice per session and more chances to hear the difference between a rattly stabilizer and a tuned one. Wired also means no battery to think about while you work.
The lubricant is a switch lubricant built for this exact job. It is the one consumable you cannot fake, and it is usually the item people buy last, after they have already ordered switches they did not need.
Two things are worth checking before you buy anything: whether the board is hot-swap, and whether the stabilizers rattle out of the box. Hot-swap means you can pull switches without desoldering, which turns a full switch job into an afternoon instead of a weekend with an iron. If your board is soldered, you can still do the stabilizer work, and honestly the stabilizer work is where the biggest sound change lives anyway.
The board and the lubricant
You need two things for this job: something to type on and something to put inside it. The board below is the practice subject. The lubricant below is the consumable.
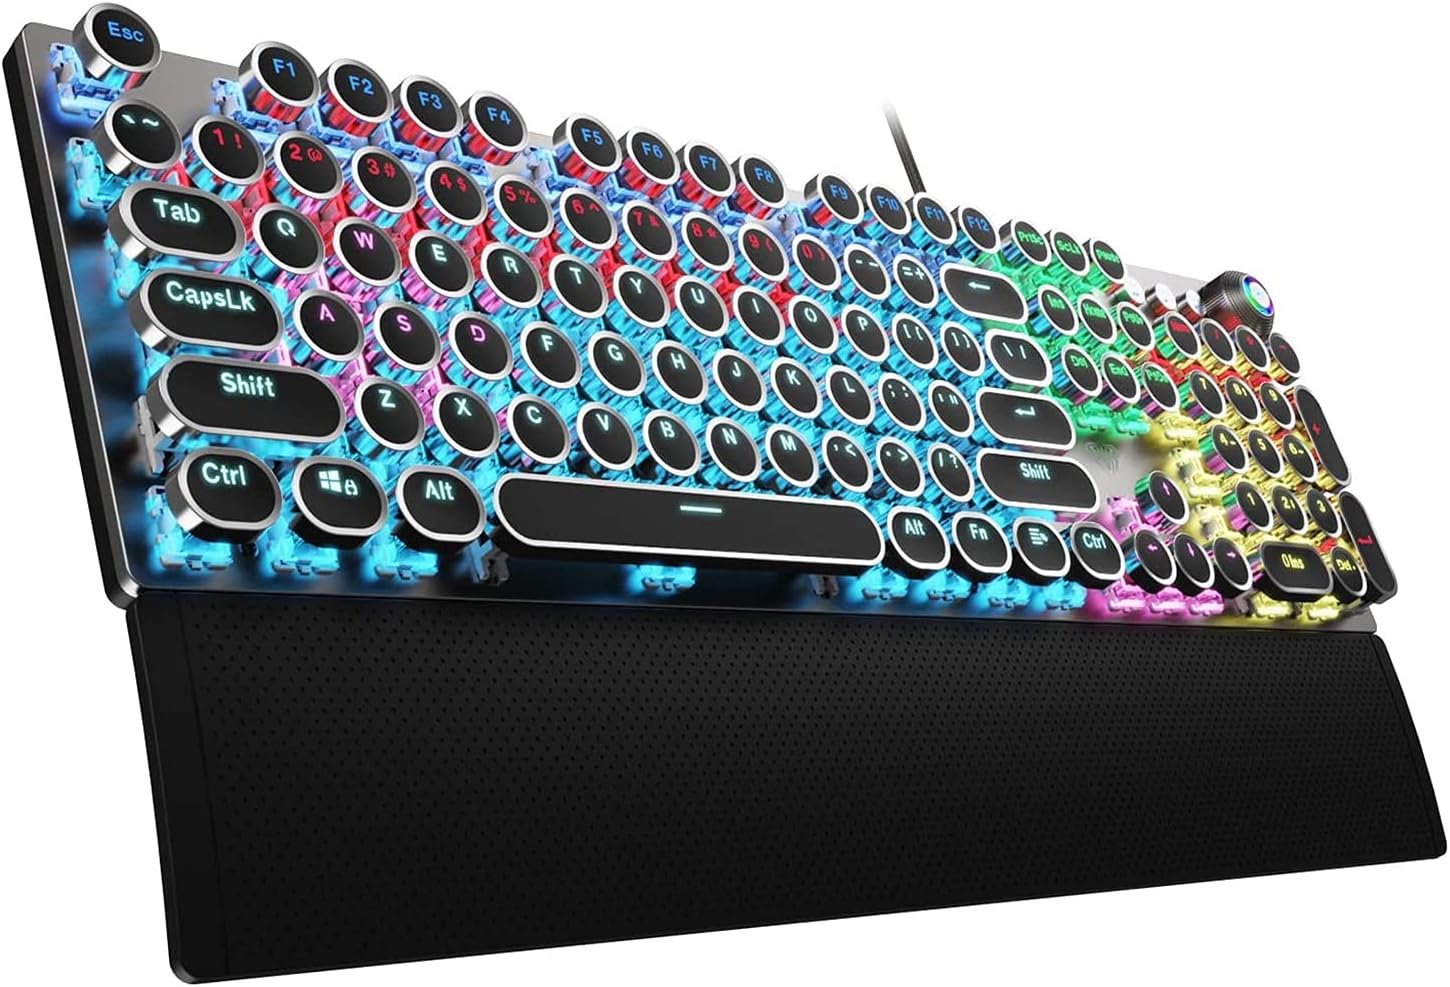
The board: AULA F2088 Typewriter Style Mechanical Gaming Keyboard Wired, 104 Keys
 Visit on Amazon →
This is a wired, full-size, 104-key mechanical keyboard with a typewriter style. The layout is the useful part for a first modding project. You get a number pad, which means a whole second cluster of stabilizers to practice on, and a standard arrangement of keys that makes it obvious where to start.
The typewriter look is the other half of the pitch. The keycaps are a big part of the design here, so treat them that way: pull each cap straight up rather than twisting, and keep them in order. A cheap keycap tray, or a photo of the board with the caps still on, will save you twenty minutes of guessing at the end.
The caveat that matters most is the one you have to check yourself. Confirm whether your specific unit is hot-swap before you plan a full switch pull. If it is, a full lubrication job is an afternoon. If it is not, stay with the stabilizers and skip the switch internals, or apply a small amount of lubricant into each switch from the top with the keycap off. That last method is less controlled than opening a switch, but it does not require desoldering anything.
Flaws but not dealbreakers: Budget boards in this tier tend to ship with stabilizers that rattle, and that is exactly why this board is here. Budget an hour for stabilizer tuning on top of whatever else you do. The rattle is not a defect, it is the starting point.
Anyone who wants a full-size board to learn on, and does not want to risk an expensive one, is the right buyer here.
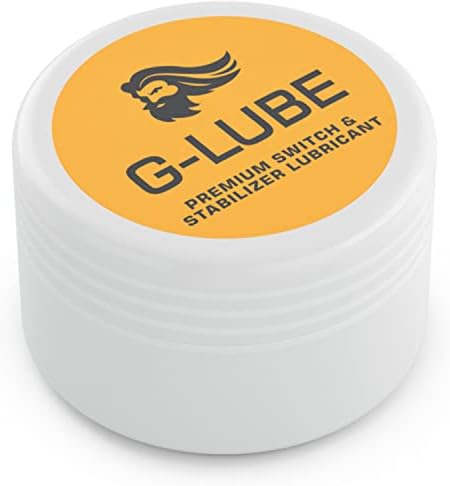
The lubricant: GLORIOUS G-Lube Keyboard Switch Lubricant
 Visit on Amazon →
This is a lubricant made for keyboard switches, which is the job in front of you. It goes on the parts that slide against each other, and it takes a very small amount to do that work. A thin, even film is the goal. A glob is a mistake.
Apply it with a small brush, not a finger, not a cotton swab. The brush lets you control how much lands on the plastic, and control is the entire game here. If you are doing springs, the bag method works: a small amount in a bag, springs in, shake, pull them out. It is faster than brushing 104 springs one at a time and it wastes less than you would think.
Do not substitute household oil, and do not substitute a grease meant for hinges or car parts. Those products are built for metal on metal at high load, not plastic on plastic at the pressure of a fingertip.
Flaws but not dealbreakers: It is a consumable, so a person who keeps buying boards will keep buying lubricant. The real risk is over-application. Too much turns a crisp switch into a mushy one, and the only fix is opening the switch again and cleaning it out. Test on a few switches first.
Anyone doing their first switch lubrication job, or their fifteenth, is the right buyer.
The actual lubrication workflow
This works on a hot-swap board and mostly works on a soldered one. Read all of it before you pull a single keycap.
Step one: baseline the board. Type on it for a week before you change anything. Note which keys rattle and which ones ping. If you do not have a baseline, you cannot tell whether your work helped.
Step two: pull the keycaps. Straight up, one at a time, and keep them in order. Tall caps are easier to bend than standard ones, so do not twist.
Step three: confirm hot-swap. Try a switch puller on one switch. If it comes out cleanly, you are in the good timeline. If it does not budge, stop pulling and decide: stabilizers only, or a full desolder.
Step four: open one switch and learn the parts. You are looking at a top housing, a bottom housing, a stem, a spring, and a metal leaf inside the bottom housing. That is the whole object. Learn it once and the other 103 are repetition.
Step five: lubricate the springs. A thin coat is enough. Springs are where the ping comes from, and a lightly lubricated spring is the single biggest sound improvement per minute of work in this hobby.
Step six: lubricate the stem. Rails and the flat sides get a thin film. On tactile switches, keep lubricant off the bump and off the legs at the bottom of the stem, or you will flatten the tactility you paid for. On linears you have more room to work, but the principle is the same: thin and even.
Step seven: lubricate the housing rails. Just the channels where the stem slides. A light touch. This is the step where beginners go wrong, because the brush holds more lubricant than the plastic wants.
Step eight: reassemble and test three to five switches. Put them in a row, cap them, and type. If the switch feels mushy, you used too much. If it still pings, you used too little. Adjust before you touch the other 99.
Step nine: repeat across the board. A 104-key board is a few hours of work. Put on a podcast or three and do not rush the last twenty switches, because that is where sloppy work shows up.
Step ten: tune the stabilizers. This is the part that changes how the board sounds more than anything else. Lubricate the housing where the stem slides, the ends of the wire, and the point where the wire meets the housing. Keep lubricant off the plastic clips that hold the wire in place, because those need friction to stay seated. If a stabilizer still rattles after lubrication, the problem is usually wire balance, not lubricant. Bend the wire gently and evenly, not more lubricant.
Step eleven: reassemble and type for a week. The verdict on a lubrication job comes after a week of daily typing, not after ten minutes of tapping. If you stop noticing the keyboard, it worked.
What lubricating will not fix
Lubricant is not a cure for everything, and treating it like one is how people end up with a board that is worse than when they started.
It will not fix a hollow case. That is a dampening problem, and it is a separate project. It will not fix keycap wobble, firmware, or a switch batch that has a bad leaf in it. It will not fix a bent stabilizer wire, which is a mechanical problem with a mechanical answer. And it will not make you like linears if you are a tactile person, or make you like tactiles if you are a linear person. Switch feel is personal, and no amount of lubricant rewrites your hands.
What it will do is remove the friction and the ping that make a budget board sound cheap. That is a real change, and it is the cheapest one available to you.
What this all costs
The time math is straightforward. A stabilizer-only job on a full-size board runs about an hour. A full 104-switch job runs an evening, and the first time you do it, plan for a long one, because you will be slow at step six and you should be.
The money math is smaller than people expect. The tools are one-time purchases: a keycap puller, a switch puller if the board is hot-swap, a switch opener, and a small brush. The lubricant is a consumable and it lasts longer than you think. Check current Amazon price on both items before you order, and check the board's hot-swap status before you plan a switch pull, because that single detail decides whether this is an hour or a weekend.
The comparison that matters is against buying another board. A new board costs more than lubricant and tools, and if the new board is also budget tier, it will arrive with the same rattly stabilizers you already have. Fix what is on your desk first.
The short version
Pull the caps, keep them in order, lube the springs, lube the stem rails and the housing channels with a thin film, test three switches before you do the rest, then spend an hour on the stabilizers because that is where the rattle lives. Type on the result for a week before you judge it.
That is the whole job. It is not glamorous and it does not photograph well, but it is the difference between a board that sounds like a toy and a board you stop noticing while you work. The second one is the goal.