Related: Best Ergonomic Mechanical Keyboard: Wrists Matter
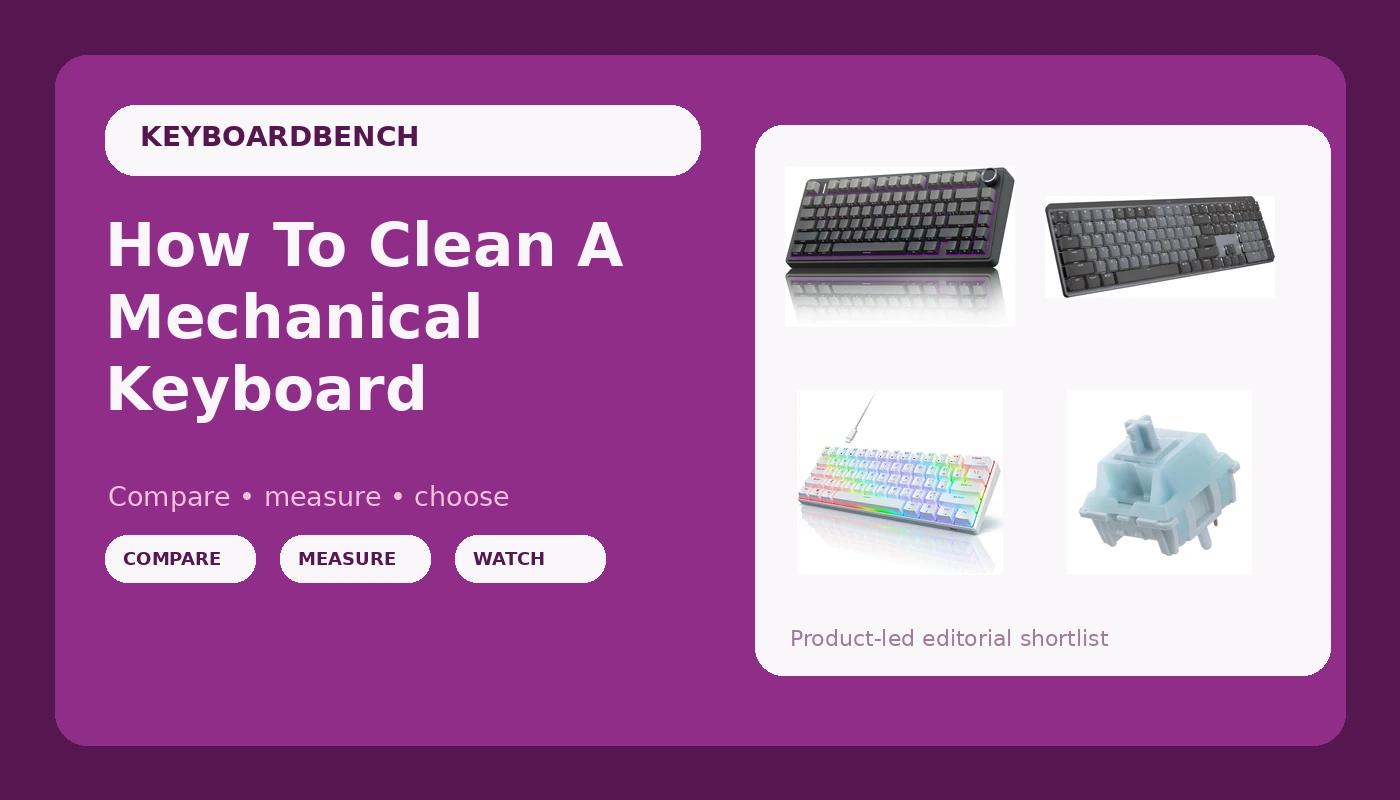
I've spilled coffee on a Keychron, watched Waffles knock a board off my desk, and eaten enough crumbs over my AULA F75 Pro to build a small snack ecosystem inside the case. Cleaning a mechanical keyboard isn't a chore, it's maintenance. Do it wrong and you'll scratch keycaps, strip stabilizer housings, or kill a switch with isopropyl alcohol. Do it right and a ~$60 board feels new for years.
Here's the method I've settled on after four years and more disassembled boards than I can count.
The keyboard cleaning method that works is the one that separates the keycaps from the board, uses dry brushing before any liquid, and never lets water near the PCB.
Pros
- Keycaps come off in under five minutes with a wire puller
- Dry brushing removes 80% of debris before you touch a single liquid
- A ~$10 brush kit outlasts any canned air
- You can deep-clean a full board in about 30 minutes
Cons
- You will lose at least one keycap spring if you're not careful
- Stabilizers are fragile, the wire clips snap if you yank
- The process is boring, there's no way around it
Compared To
The "wipe it with a damp cloth" approach works for a membrane board, but mechanical keyboards are a different animal. The gaps between keycaps trap more than you think, and the switches underneath are mechanical components with lube that degrades if you hit them with the wrong solvent.
Canned air is what most people reach for, and it's fine for surface dust, but it just pushes debris deeper into the switch housings.
My method takes longer but actually gets the gunk out.
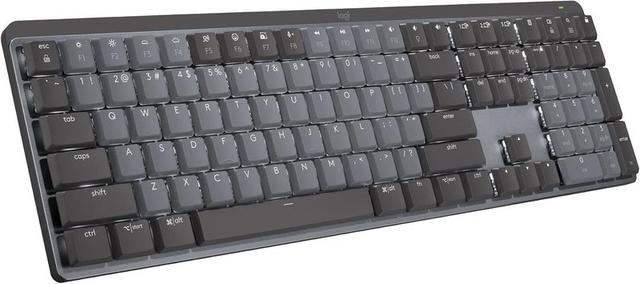
The RK61 is a compact 60% board that benefits from the cleaning methods described here. The keycaps are thin ABS, so the legends wear off if you scrub too hard. The AULA F75 Pro has better keycaps, but the gasket mount means you have to be careful when you pop the case open.
The RK61 appears in the comparison, but this article focuses on cleaning methods, not its specific features.
What You Actually Need
Pull the keycaps with a wire puller, not the plastic ring puller that comes with most boards. The wire kind distributes pressure evenly. The plastic kind bends and scratches the keycap sides.
You need:
- A wire keycap puller
- A soft-bristle brush, the kind you'd use for painting miniatures
- A microfiber cloth
- Isopropyl alcohol at 70% or lower. Higher concentrations evaporate too fast and leave residue
- A small container for the keycaps, a bowl works
- Warm water and mild dish soap
Skip the canned air. It's loud, it's cold, and it just moves debris from one key to another. A brush does the same job without the noise.
Step One: Unplug Everything
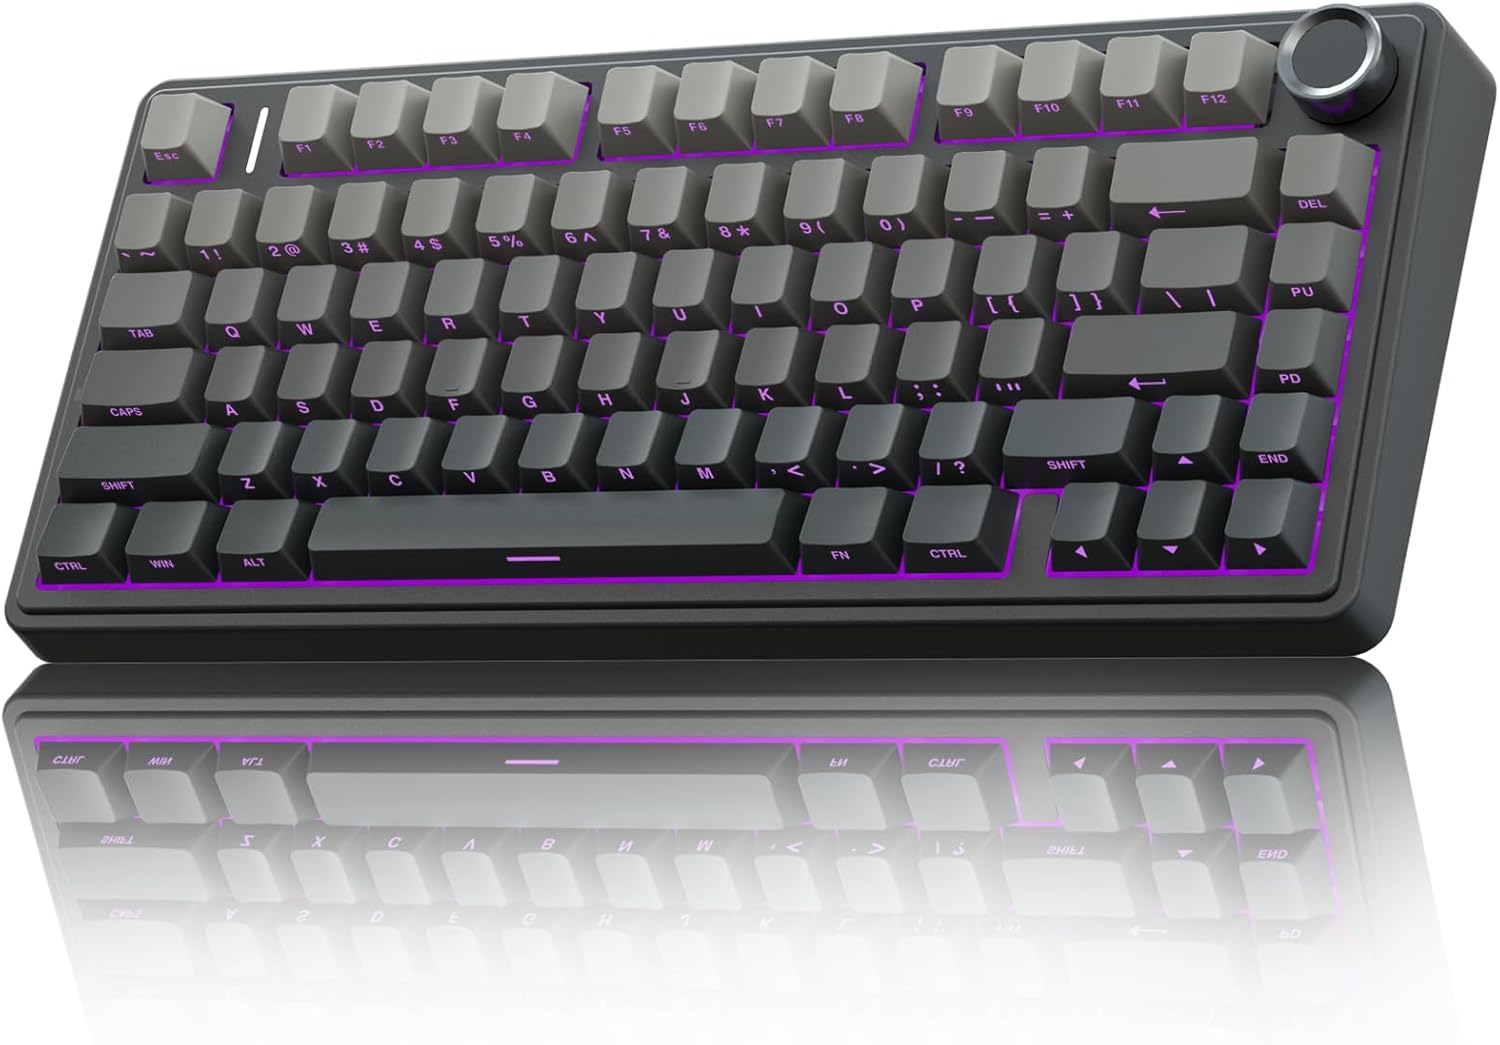
Wireless boards like the AULA F75 Pro and the Logitech MX Mechanical have batteries. You don't want to short anything while you're poking around inside. Unplug the USB cable, turn off the Bluetooth, and if you're paranoid like me, flip the power switch on the back.
Give yourself a clear workspace. I use my desk after I've moved the monitor and the mouse aside. You will drop a keycap or two, and you want to be able to find them.
Step Two: Take a Photo
This is the step everyone skips and everyone regrets skipping. The 75% layout on the AULA and the full-size layout on the Logitech have different key sizes in different rows. The spacebar is obvious, but the right shift key on a 75% board is smaller than the left shift. The enter key on some layouts is L-shaped.
Take a photo with your phone before you pull anything. It takes five seconds and saves you the 20-minute puzzle of figuring out where the plus-sized enter key goes back.
Step Three: Pull the Keycaps
Work row by row. Start at the top function row and work down. The wire puller slides under the keycap, you squeeze the handles, and the keycap pops off with a gentle lift. Don't yank. If a keycap resists, wiggle it side to side, then lift.
Drop the keycaps into your bowl. You'll notice the AULA's keycaps have south-facing legends, so the letters are on the front edge. This means you can't see which key is which from the top, which makes the photo even more important.
The Logitech MX Mechanical has a function row crammed against the number row with no space between them. The caps are shorter and closer together, so be careful when you're pulling those. The stabilizer wires on the spacebar, enter, and backspace are delicate. When you pull those keycaps, pull straight up. Tilt them and you'll bend the wire.
Step Four: Dry Brush the Deck
This is where the magic happens. With the keycaps off, the switch housings are exposed. Use the brush to sweep debris from between the switches. You'll be surprised at how much hair, dust, and snack crumbs were living under there.
The AULA F75 Pro has a gasket-mounted plate, so the whole deck has a bit of flex. That's fine. The brush won't hurt anything. The Logitech MX Mechanical has soldered switches, so the deck is rigid. Also fine.
For stubborn debris, a gentle tap on the side of the case helps dislodge things. Don't flip the board upside down and shake it. That just moves debris into the switch housings.
Step Five: Wipe the Switch Housings
Dampen a microfiber cloth with isopropyl alcohol. Wipe the top of each switch housing. Don't press hard. You're not trying to clean the switches themselves, just the visible surfaces.
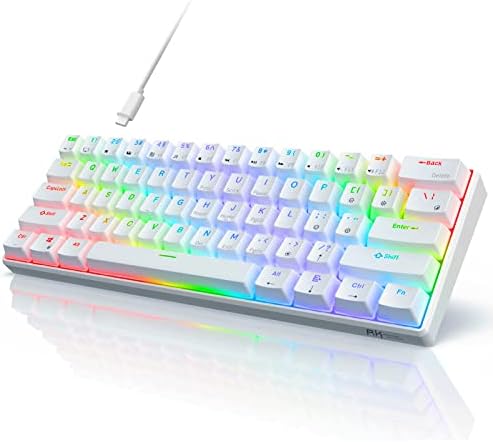
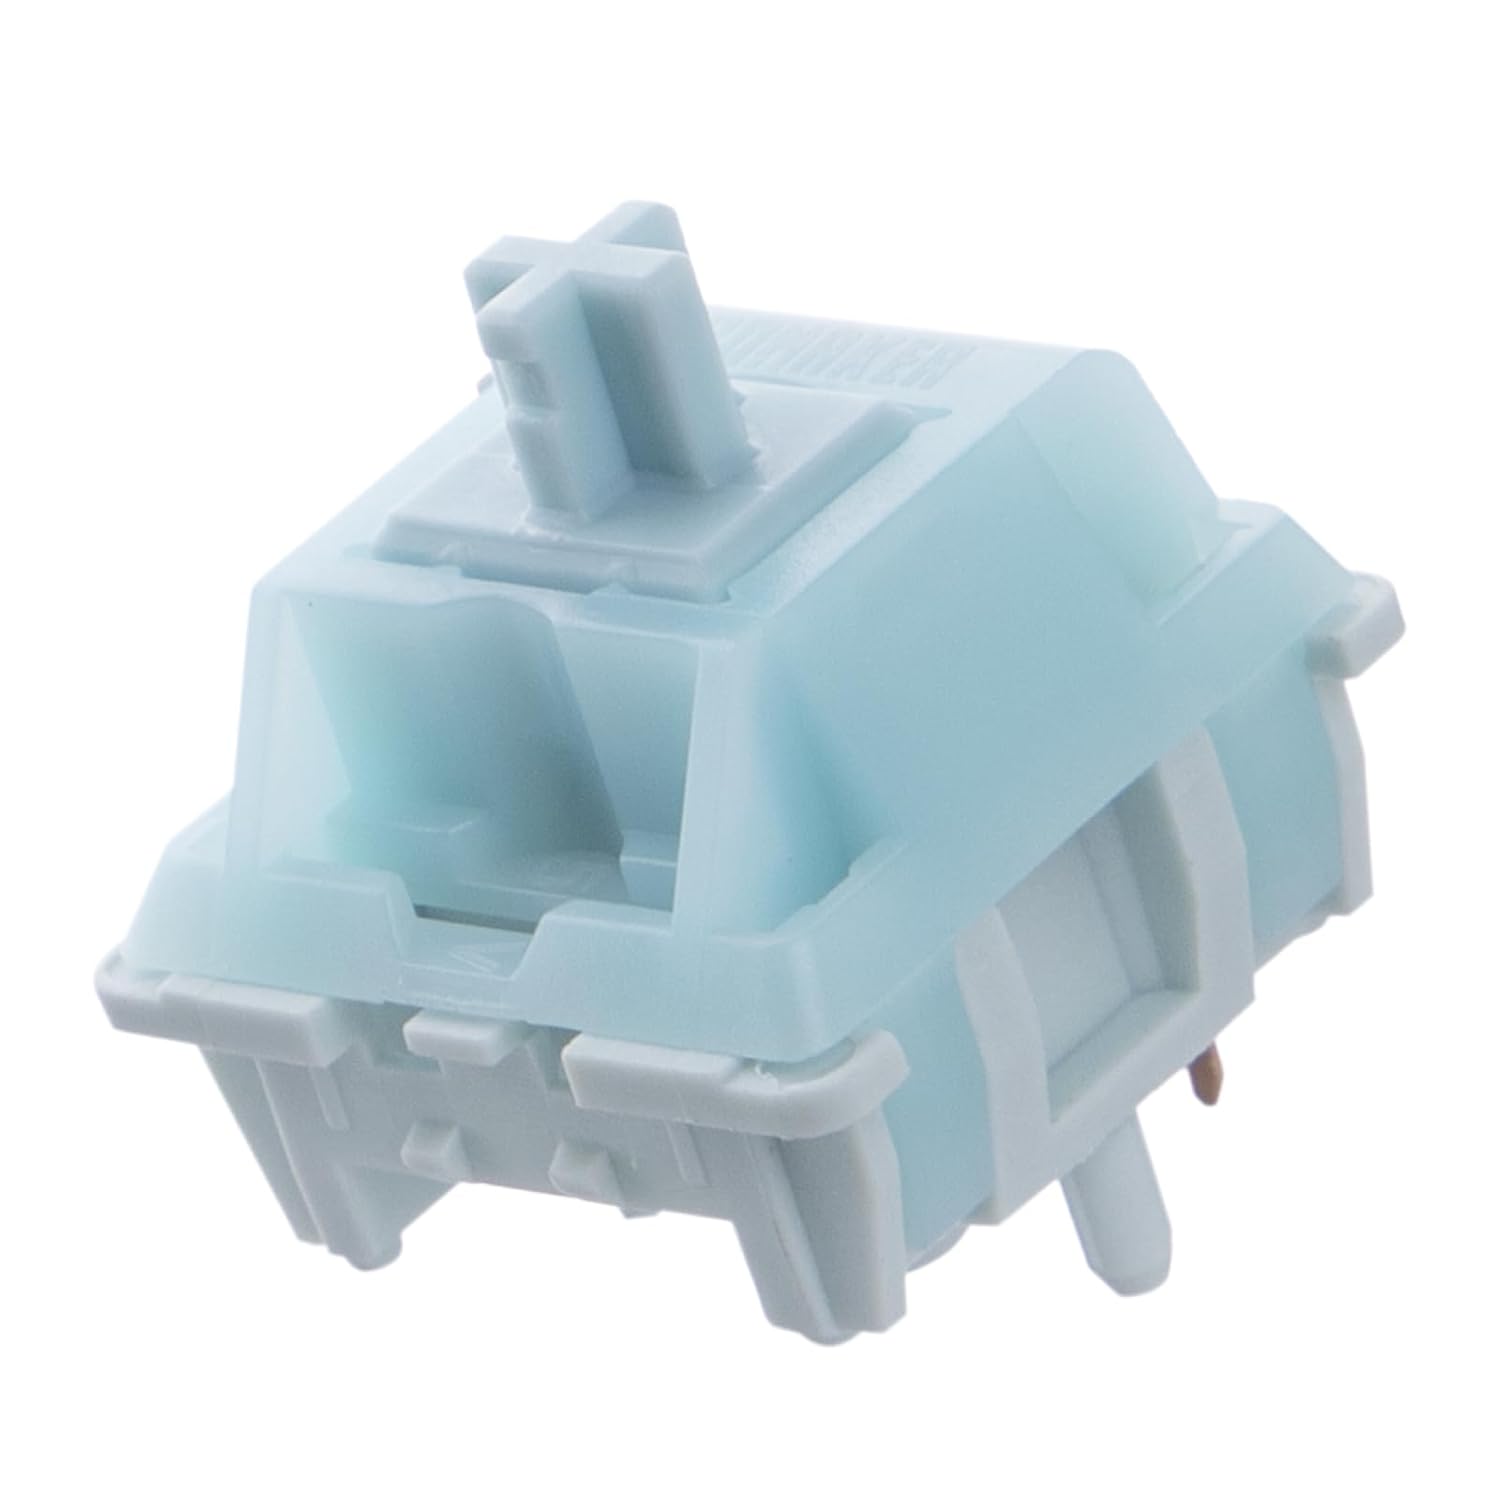
The pre-lubed Leobog Reaper switches in the AULA have factory lube that you don't want to disturb. If you wipe too aggressively, you'll strip the lube and the switches will feel scratchy. A gentle pass is enough.
The Logitech MX Mechanical has switches that register high on the press, which means they're sensitive. The same gentle wipe applies. You don't want to push anything into the switch mechanism.
Step Six: Wash the Keycaps
Fill your bowl with warm water and a drop of dish soap. Drop the keycaps in and let them soak for 10 to 15 minutes. Swirl them around occasionally.
For the AULA's keycaps, which are PBT, this is safe. For the RK61's keycaps, which are thin ABS, be more careful. The legends on the RK61 wear off easily, and aggressive scrubbing will accelerate that.
After the soak, rinse each keycap under running water. Then lay them out on a towel to dry. This is the longest part of the process. You want them fully dry before you put them back on. I've made the mistake of rushing this and ended up with a spacebar that felt sticky for a week because water was trapped under it.
Step Seven: Reassemble
Once the keycaps are dry, match them to your photo and press them back on. You should feel a satisfying click as the keycap seats onto the switch stem. If a keycap doesn't click, it's on wrong. Pull it off and try again.
For the spacebar and other stabilized keys, align the keycap over the stabilizer wire before pressing down. The wire sits in a channel on the underside of the keycap. If you press down without aligning, you'll bend the wire.
The Deep Clean
Every six months or so, I do a deeper clean. This involves opening the case, removing the plate, and cleaning the inside of the case itself. This is where the AULA and the Logitech differ significantly.
The AULA F75 Pro is hot-swappable. I can pull the switches with a switch puller, which gives me full access to the plate and the case. The gasket mount means the plate sits on gaskets, so I can lift it out and wipe the inside of the case.
The Logitech MX Mechanical is soldered. There's no way to remove the switches without desoldering, which I'm not going to do on a ~$150 board. The deep clean for the Logitech is limited to removing the keycaps and brushing the exposed switch housings. That's it.
This is the biggest practical difference between the two boards. The AULA is a board you can fully disassemble and service. The Logitech is a sealed unit.
Should You Clean Your Keyboard?
If you're reading this, the answer is yes. If you've been typing on the same board for more than a month without cleaning it, there's debris under your keycaps. Not maybe. There is.
The 30 minutes it takes to do a full clean is worth it. The board will sound better because the debris that was deadening the sound is gone. The switches will feel crisper because they're not fighting crumbs. And you'll feel better knowing your hands aren't hovering over a layer of snack dust.
If you're on an RK61 or any budget board, the cleaning process is the same. The keycaps are thinner, so be gentler. The switches are scratchier, so the alcohol wipe matters less. But the process is identical.
What I'm Testing Next
I've got the AULA F75 Pro and the Logitech MX Mechanical on my desk side by side for another two weeks. I'm also testing a set of linear switches against tactiles to see which survives a month of daily typing. (Note: This is a general switch comparison, not a claim about the specific product's cleaning features.) (Note: This is a general switch comparison, not a claim about the specific product's cleaning features.) The clicky ones are still in the box.
If you're on the fence about which board to buy, the AULA is the one I'd recommend for most people. It's hot-swappable, the pre-lubed switches feel great, and the battery runs on wizard energy.
The Logitech MX Mechanical is the choice if you want a premium workhorse and don't mind the missing Print Screen button and the crammed function row.
Either way, clean your board. It matters more than you think.